
Whether you are an instructor or a student, after you log into your account, you can click on the hamburger menu in the upper left corner of the Home page and then click on the Dashboard menu item to go to your personal dashboard page. The student or teacher Dashboard features their personal calendar of events.
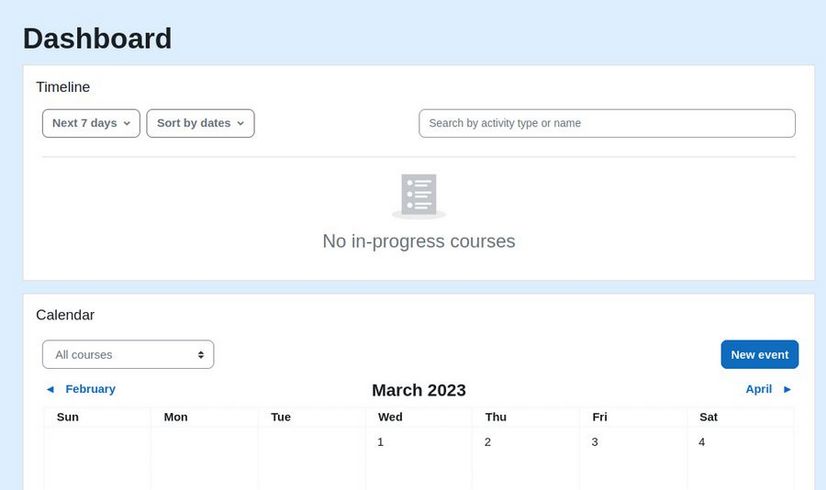
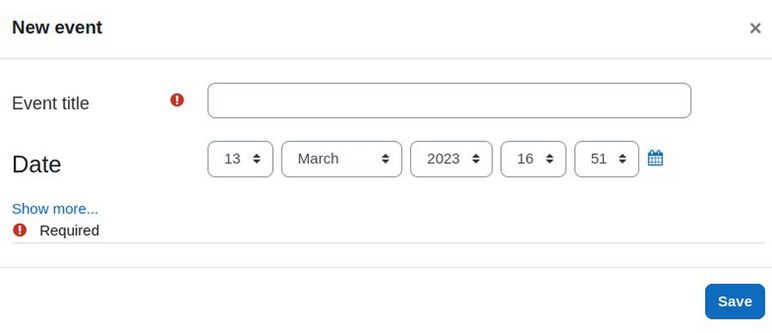
A student can click on New Event and add what Moodle calls a User Event – which is an event that only the user who created it can see.
The personal Dashboard page Calendar provides users with links to their courses and activities within their courses, such as upcoming assignments.
The student can click on My Courses to see the courses they are enrolled in. Sadly, while there is a calendar shown on the Dashboard, there is no Course calendar shown on the Course page. To add a course calendar to a course, log in as an Admin or Instructor and click on the course you want to add a calendar to. Then turn on Edit Mode.
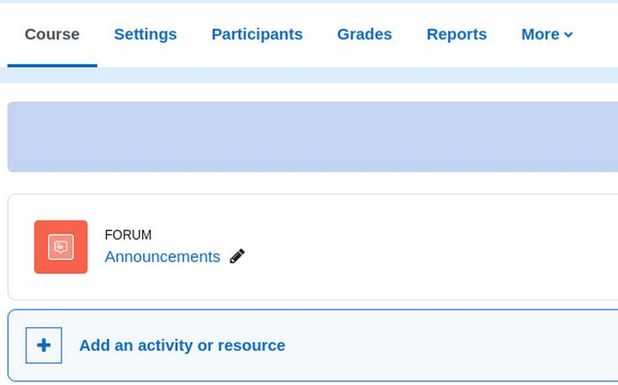
Click on the left pointing arrow in the upper right corner. Then click Add a Block. Then click Calendar. This will place a Course Calendar in the Right side pop out panel.
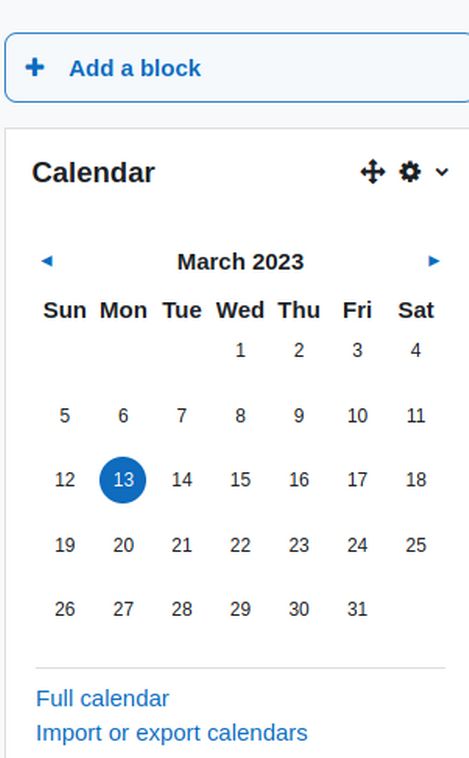
Moodle student dashboard with a course calendar
After logging in, a student can go to My Courses and click on a course they are enrolled in to go to the Course home page. If the Instructor or Administrator adding a calendar block to the course, the student will see this calendar in the right column.
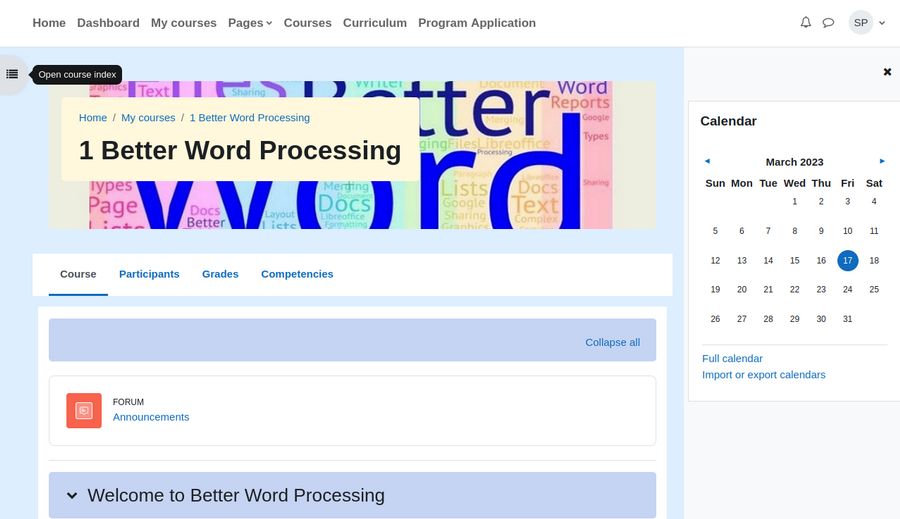
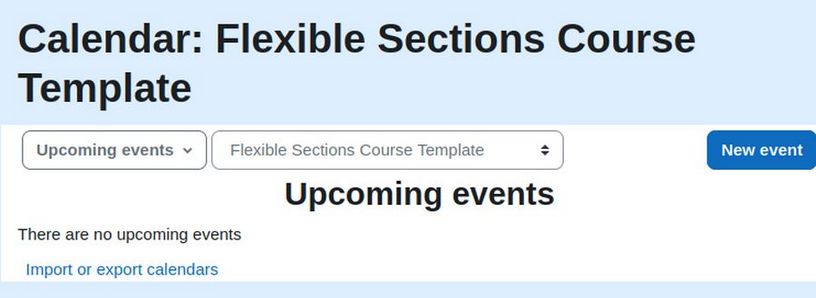
Click Full Calendar to go to the Full Calendar page:

Types of calendar events
Moodle calendars can have four different types of events.
Site events - Shades of green. These events are created by the Moodle Administrators and occur across all pages. Site events can include the beginning and end of semesters and holidays. Site events are visible in every course and on the calendar on the home page.
User events - Shaded blue. These are the only type of events that a student can create and are only view-able by the student. They could be any kind of personal reminder or note.
Course events - Shaded pink. These are events created for a specific course – such as assignments and quizzes. Course events will be visible to all participants within the course. As long as open and close dates have been set for quizzes, and due dates for assignments, they will appear in the calendar. Instructors can also manually add events for other course informational meetings.
Group events - Shaded yellow. These events can only be viewed by members of a group. They can be for such things as a meeting to discuss a group assignment. You should create special groups within your course if you want to create group events.
Category events - Shades of purple. These are events that affect an entire category of courses. Category events rarely used.
The Moodle Calendar automatically draws in scheduled dates, times, and deadlines from Moodle activities like Assignments and Quizzes.
Add a Coming Events block
In addition to the calendar block, Moodle has a block called Coming Events. Upcoming Events block provides a function similar to Calendar but all the events are listed chronologically in a list with their names and dates, separately, one below the other.
Click Add a Block. Then click Coming Events:
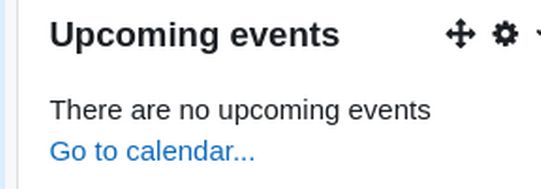
Click Go to Calendar to see the Upcoming Events page:
Calendar and Events Preference settings
The following settings can be changed by a site administrator in Administration > Appearance > Calendar:
Time display format: Whether a 12 or 24 hour format is used.
Days and events to look ahead: For determining how many events are listed in the Upcoming Events block. We have increased this from 3 weeks to 9 months.
Events to Look Ahead. Default is 10 events. We will increase it to 20.
Manually Add an Event to your course calendar
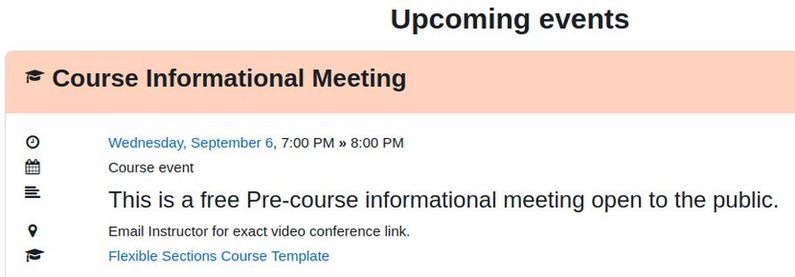
You can manually add an event to the course calendar block by going to the course and click on the Full Calendar link. Change the course to the course you want to add the event to. Change the month to the month you want to add the event, then click New Event. Type in a title such as Course Informational Meeting.
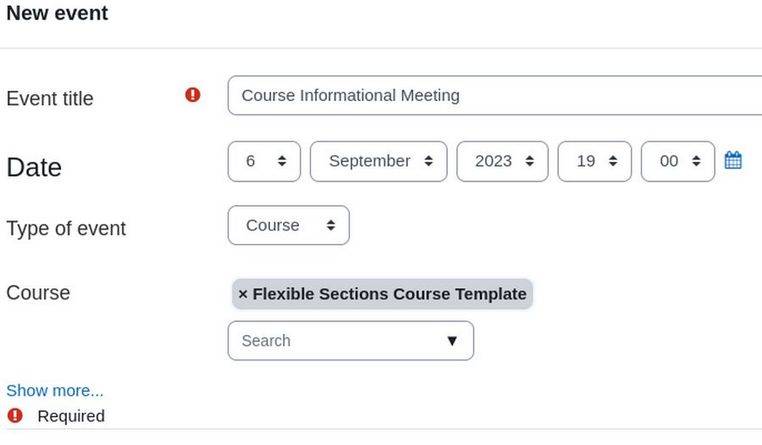
Assign a date and time before the actual beginning of the course. Also assign it to your template course. Then click Show More. Type in a Description such as This is a free Pre-course informational meeting open to the public.
Note that some times the editor does not paste with Control plus V. If this happens, click on the Code icon <>. Then copy paste the description into the code box that appears.
For Location, type Email Instructor for exact video conference link. For Duration, click Duration in minutes and type in 60. Then click Repeat this event. Then Repeat Weekly 1 time. Then click Save. Note that some times the Repeat weekly function does not appear to work so you may have to create the second event manually.
Set Date and Time for each class video conference meeting
We have previously set the due dates for the session projects and quizzes in our Flexible Course Template. These dates should therefore already appear on our course calendar. In order to also display our class video conference meetings as events on our course calendar, we need to add the dates and times for these meetings to their activity entries in each class sub section. The reason we did not previously add these dates and times is because each class has a different date. We will therefore do this separately in order to reduce the chance of errors. Here are our 2024 Fall Quarter dates:
Course 1 & 2: Mondays September 16 through December 9 (excluding November 25) plus Wednesdays September 18 through December 11 (excluding November 27).
Course 3 & 4: Tuesdays September 17 through December 10 (excluding November 26) plus Thursdays September 19 through December 12 (excluding November 28).
Below is a table of our Fall Quarter 2024 Course Dates. Making this table first will make it easier to add the dates and times without making any mistakes.
|
Week |
Course 1&2 Mon 5 to 7 pm & 7-9 pm |
Course 1&2 Wed 5 to 7 pm & 7-9 pm |
Course 3&4 Tues 5 to 7 pm & 7-9 pm |
Course 3&4 TH 5 to 7 pm & 7-9 pm |
|
1 |
9-16 |
9-18 |
9-17 |
9-19 |
|
2 |
9-23 |
9-25 |
9-24 |
9-26 |
|
3 |
9-30 |
10-2 |
10-1 |
10-3 |
|
4 |
10-7 |
10-09 |
10-08 |
10-10 |
|
5 |
10-14 |
10-16 |
10-15 |
10-17 |
|
6 |
10-21 |
10-23 |
10-22 |
10-24 |
|
7 |
10-28 |
10-30 |
10-29 |
10-31 |
|
8 |
11-4 |
11-6 |
11-5 |
11-7 |
|
9 |
11-11 |
11-13 |
11-12 |
11-14 |
|
10 * |
11-18 |
11-20 |
11-19 |
11-21 |
|
11 * |
12-2 |
12-4 |
12-3 |
12-5 |
|
12 |
12-9 |
12-11 |
12-10 |
12-12 |
* Note: Week of November 25 to 29 is Thanksgiving Break
We will use just the Course 1 dates and times for our course template. We can then copy this course template to use for Course 1 and make additional copies of the course template for the remaining courses – and changing the times and dates for those courses as needed.
Go to the Flexible Sections course template and click on Week 1 Class 1.1. Then click on the 3 dots to the right of the JITSI video conference to edit it. Click Edit Settings. Click Availability and check Enable. For Start of Video Conference, change it to September 16 4 pm. For finish, change it to September 16 5 pm. Change Minutes to Access from 5 to 10. Then click Save and return to course.
Then edit the 1.2 video conference. Click Availability and check Enable. For Start of Video Conference, change it to September 16 5 pm. For finish, change it to September 16 6 pm. Change Minutes to Access from 5 to 10. Then click Save and return to course.
Then edit the 1.3 video conference. Click Availability and check Enable. For Start of Video Conference, change it to September 18 4 pm. For finish, change it to September 18 5 pm. Change Minutes to Access from 5 to 10. Then click Save and return to course.
Then edit the 1.4 video conference. Click Availability and check Enable. For Start of Video Conference, change it to September 18 5 pm. For finish, change it to September 18 6 pm. Change Minutes to Access from 5 to 10. Then click Save and return to course.
Repeat for each of the remaining 11 weeks to set all 48 video conference start and end times. Here is what these events now look like in the Coming Events block:
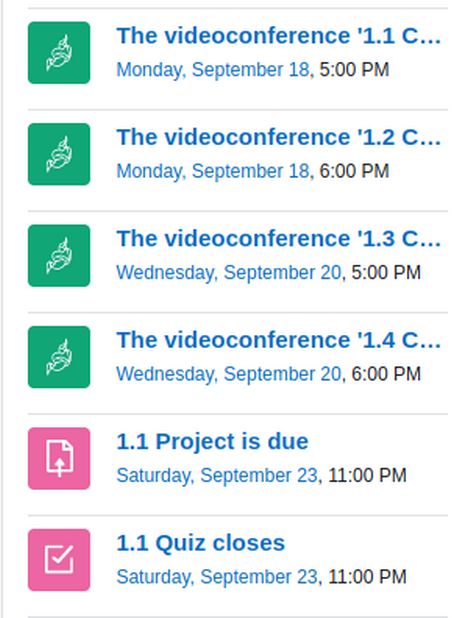
Each week now has four 1-hour video conferences plus 4 projects and 4 quizzes shown in Coming Events (4 weekly Reading assignments and 4 weekly video assignments are not shown).
Using the Course Calendar
Once you click the month title in the block, you will be brought to a more detailed view of the month. In this view you will be able to move between various course calendars using the drop down menu. If you click on a date, you will go to the day-view calendar for that day. If the title of the event is a link, and you click on it, you will be taken to that event.
Install and Use the Event Reminders Plugin
There is a plugin called Event Reminders that will automate send reminders to students and teachers for all or selected calendar events. The plugin provides a way to customize the reminder email header/footer with your own HTML content! You can also choose which activities reminders are sent for. By default, no reminders are sent unless the teacher enable them in course level. You can also prevent email reminders from being sent once a student has completed the activity
Go to this page to download the latest version of the reminder plugin:
https://moodle.org/plugins/local_reminders
Then install it with the Moodle Plugin Installer. At the Reminder settings screen, change the Message Title Prefix to Course-Event-Reminder. Note that course events are sent emails three days before the event. Check teachers to have both teachers and students sent email reminders. Then click Save changes.
What’s Next?
In the next article, we will review how to use a plugin called Signup Sheets to provide students with individual and small group help in completing their project assignments and preparing for their weekly quizzes.