2.4 Create Moodle Categories and Courses

Now that we have a list of users, we are ready to create our Categories and Courses. The term Categories is a bit confusing. The common term in US schools, colleges and universities is Departments. However, in Moodle Categories means categories of courses. First, we create our categories for our courses and then we place our courses in these categories.

01

Moodle Orange School Demo Site Categories and Courses
On our own Moodle website, there is only one category called Category 1 and there are no courses.

02

To better understand what Moodle Categories and Courses looks like, log into the Orange School Demo Site as a Manager.

2.3 Customize Moodle User Settings

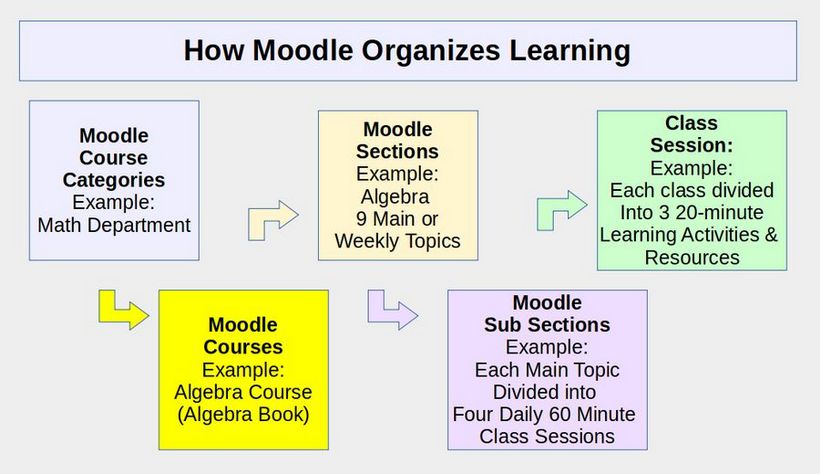
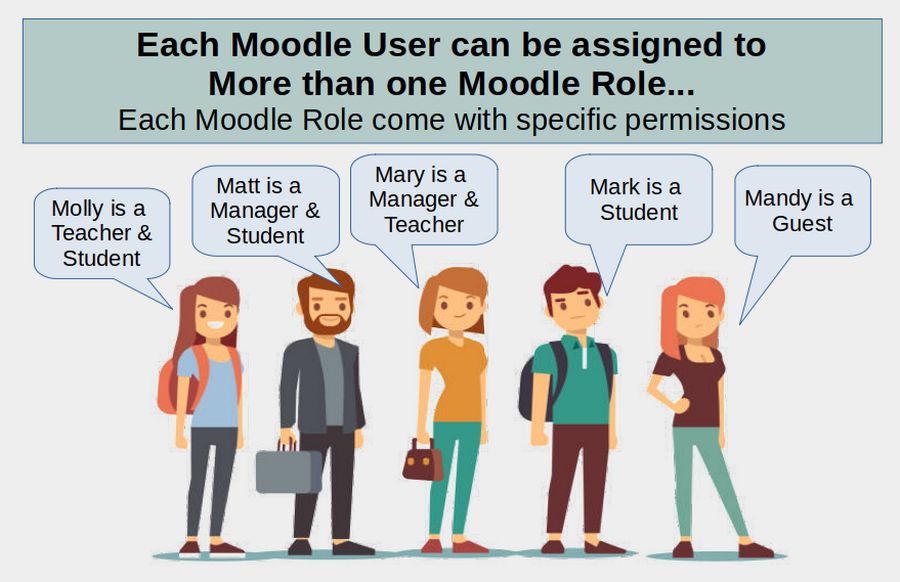
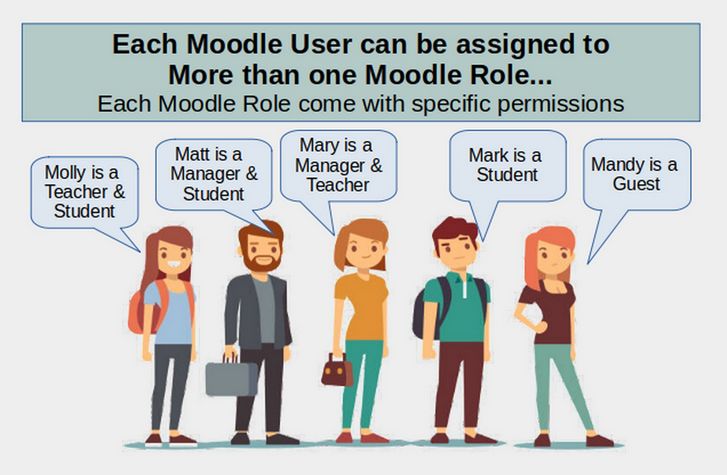
In this article, we will set up our own system of Placeholder Users in part as a learning exercise but also to demonstrate a flexible User system that can be adjusted for any Moodle website. As we noted in our previous article, each Moodle User can be assigned to several different roles

01 

Default Moodle Roles and Permitted Actions
Moodle provides five primary roles each of which is given a specific set of possible actions. Here is a table of Moodle roles and actions:

Actions

Admin

Manager

Teacher

Non-edit

Teacher

Student

Guest

View

Courses

yes

yes

yes

yes

yes

Participate

in Course Activities

yes

yes

yes

yes

x

View student records

yes

yes

yes

x

x

Add and edit course activities

yes

yes

x

x

x

Create New Courses

yes

x

x

x

x

Set Roles &

Permissions

yes

x

x

x

x


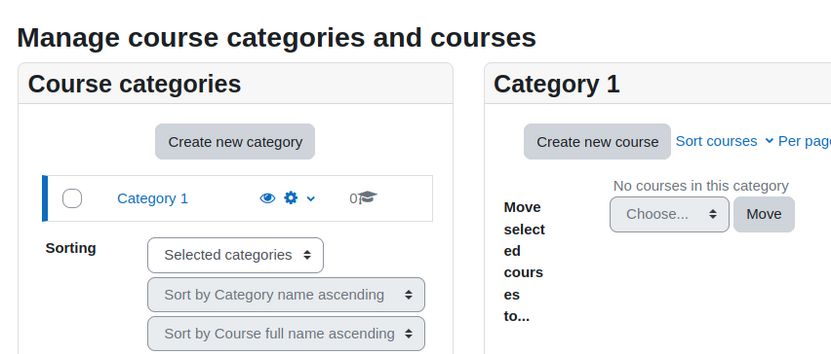
Customize our List of User Roles
Before we create our own list of users, we need to create the list of custom roles we want to assign them to. Log into your default Moodle site (or the Moodle Sandbox site). Then click Site administration, Users, Permissions, Define roles. There are 8 default assigned roles:

02

Note that this does not include the Administrator role, which Moodle defines in a separate screen. The difference between a Moodle Administrator and a Moodle Manager is that a Moodle Administrator has all permissions - and these permissions can not be edited or changed. There must always be at least one Moodle Administrator (the person who created the Moodle website).

A Moodle Manager also has nearly all permissions. However, the permissions given to a Moodle Manager can be changed by a Moodle Administrator and can be flexible to whatever the role of Manager is in a given Moodle Organization structure.

Three steps to take before creating new custom roles
Each new custom role will add more than 350 new permissions elements to your database. I therefore recommend only adding 3 to 5 new roles at a time. Before we start, go to the Dashboard page and make sure that Customize this page is turned off. Also go to the Home page and make sure that editing is not turned on. Finally, click Admin, Developer, Clear Cache prior to creating new roles.

2.2 Set Up Moodle Users Roles and Permissions

Most Moodle courses begin with setting up Categories and Courses. The problem with this approach is that categories and courses should be assigned to a particular User who has certain Moodle Roles and Permissions. We will therefore begin my reviewing how to set up User Roles and Permissions and then assign Placeholder Users to assume these Roles and Permissions. We can then assign these Placeholder Users to Categories and Courses in our next article.

A Closer Look at the Moodle Demo Site Roles and Permissions
Unlike Joomla, which has a simple system of assigning a user to a single specific role when the user is created, Moodle has a much more complex User system whereby users are created without any roles. Roles are then assigned later, after courses are created, with users assigned to roles like Teacher or student. This allows a single User to be assigned as a Teacher in one course and a student in a different course.

01

To see how the Moodle User/Role system works, let’s begin with a review of our Moodle Site Roles and Permissions – and then see how these roles and permissions were changed on the Moodle Demo Site with Content (also known as the Orange school).

If you have completed the steps in Chapter 1, you can log into your new Moodle website. If you do not yet have your own site, then log into the Moodle Sandbox Demo Site.

2.1 Customize Your Moodle Home Page

Your Moodle Home page is important because it is the public face of your Moodle website. Your Moodle Home page should not only welcome visitors and guests to your website but also explain the purpose and benefits of your courses. It should also explain the structure of your course categories, courses and other educational resources. Yet, despite its importance, one of the most common complaints on the Moodle Forums is the difficulty of modifying the appearance of the Moodle Home page. In later articles, we will explain how to use a custom theme to make the Home page customization process easier. However, because we do not yet have a custom theme, in this article, we will provide a process for customizing your Moodle Home page.

Compare your Home Page to the Moodle Demo Home Pages
One of the first things you will want to do after creating your Moodle Site is to customize your Home page. To understand how this is done, we will compare our Default Site to the two Moodle Demo sites. Here is what the home page of our initial Moodle website looks like when not logged in:

01

Our initial Home page looks pretty empty. The top row is called the Navigation bar. To the non-logged in user, there is only one menu item called Home. To the left of the Home menu item is the site short name. To the right is a Languages drop down which only has one language. But you can add 120 languages to make your educational website available to people all over the world. In the right corner is a link to your website log in page.

Below the Navigation bar is the website header area with your website full name. The box below this, which is empty, is called the content area.