
In this article, we will first take a look at the structure of a Moodle Demo website with content – called the Mount Orange school. We will then look at a Moodle Demo website without content to see how it will first appear when you install Moodle.
Moodle Demo Website with Content
Here is a link to the Moodle Demo site with content: https://school.moodledemo.net/
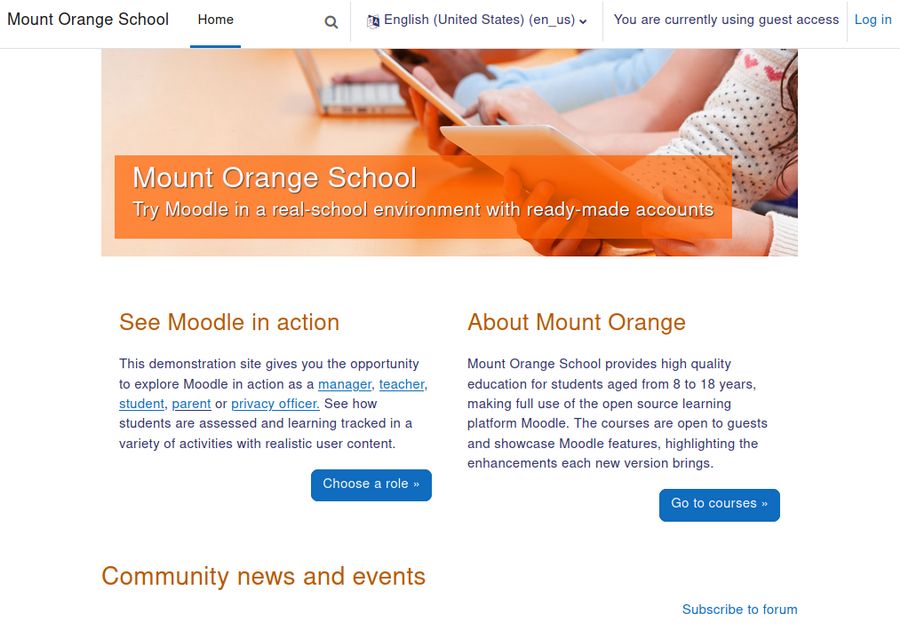
Click Log In in the upper right corner of the Home page:
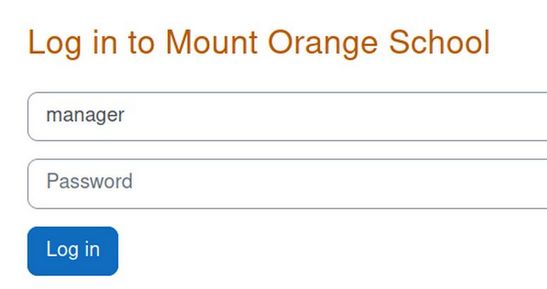
For username, type the role manager. For password, type moodle. Then click Log in.
The log in takes you to the My Courses page for the Manager.
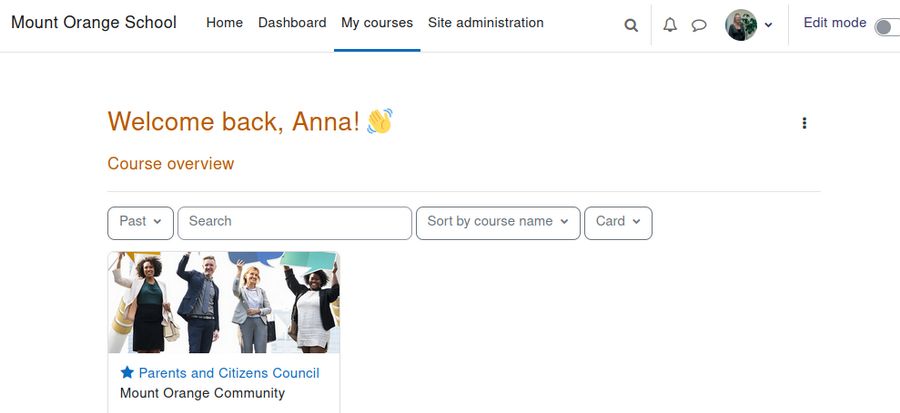
If you were a student, you would see the courses you were enrolled in here. The theme being used to control the appearance is called Boost which is the default Moodle theme. We will later learn how to supplement Boost with a theme called LearnR which is a child theme of the Boost theme.
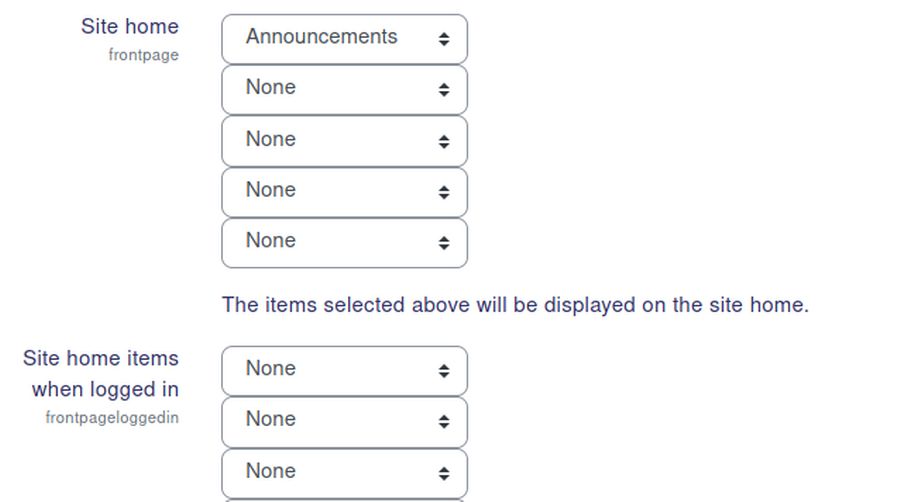
Click on Site Home to see the Home page. It is the same as the Site Home page for non-logged in viewers except that it does not include the Community News and Events section. Click Settings (to the right of the Home link). Scroll down to see that Site Home includes Announcements while Site Home when logged in does not:
Click on Dashboard and scroll down to see the Events calendar. The Site Administrator can choose to have either the Site Home page or the Dashboard appear when a student logs in. Click on Site Administration to be taken to a very complex page:
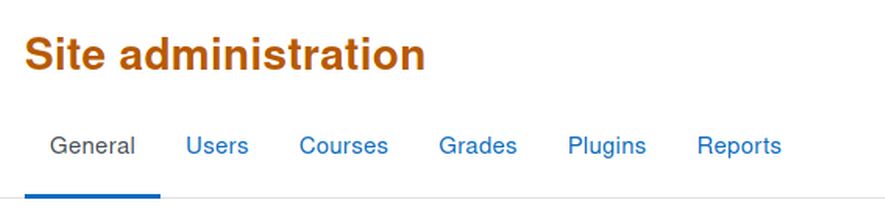
On our real Moodle website, there are several more tabs in addition to the six shown above. On the General tab, you can manage or change the settings for Content Types, Languages, Appearance and the Site Home. Click on the Users tab:
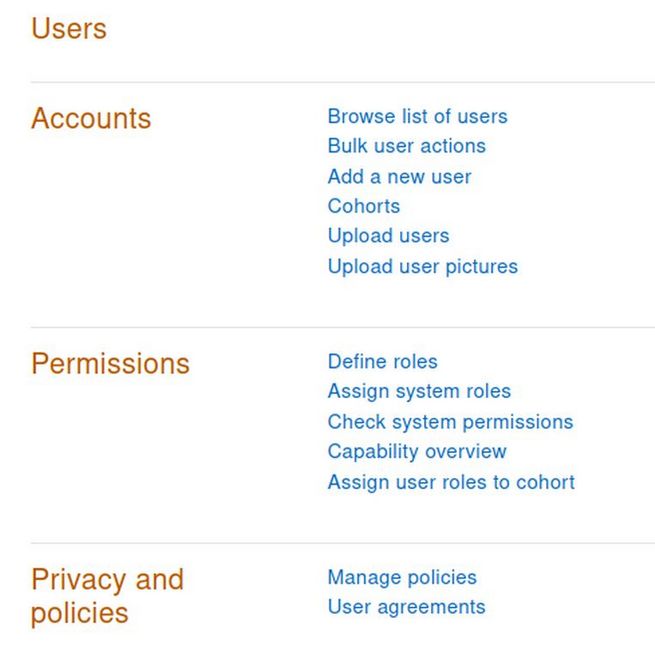
Here you can define roles or add a new user. Click Define roles. Here you will see a table of 12 different roles.
You can add a new role by clicking on Add Role at the bottom of the table. You can also delete a role by clicking on the trash icon next to the role. Go back to Site administration and click on Courses.
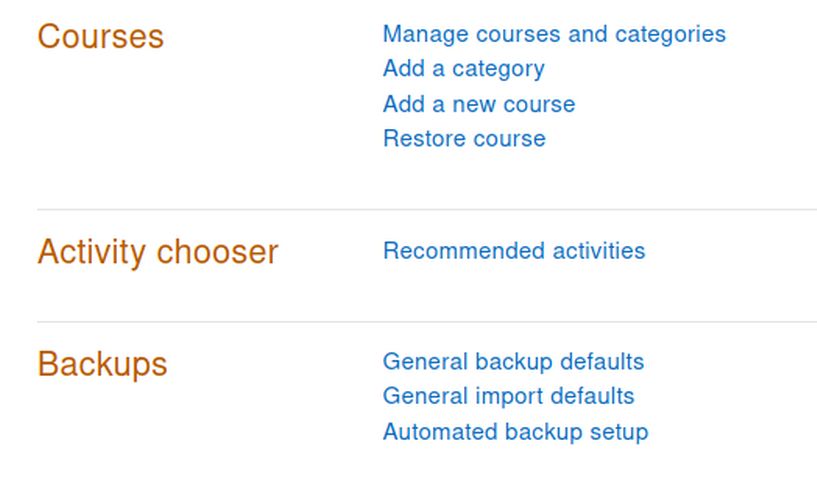
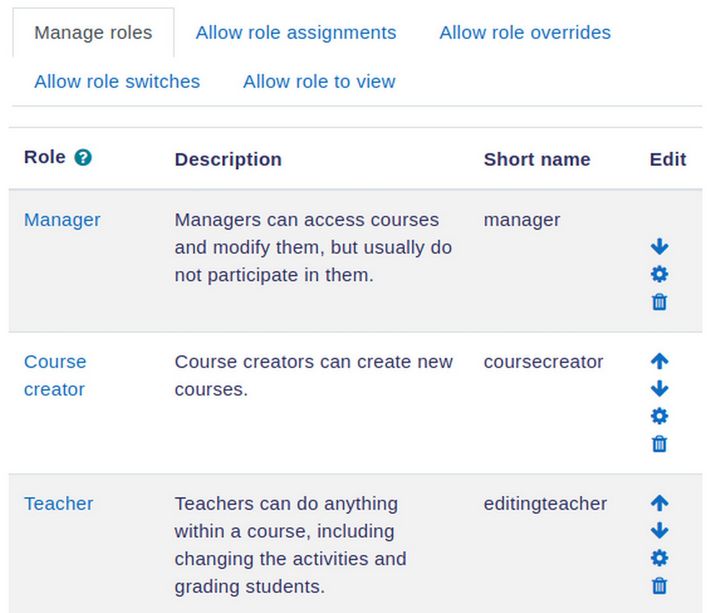
Here you can add a new category or add a new course. Click Manage courses and categories. This Moodle Demo website has seven categories of courses.
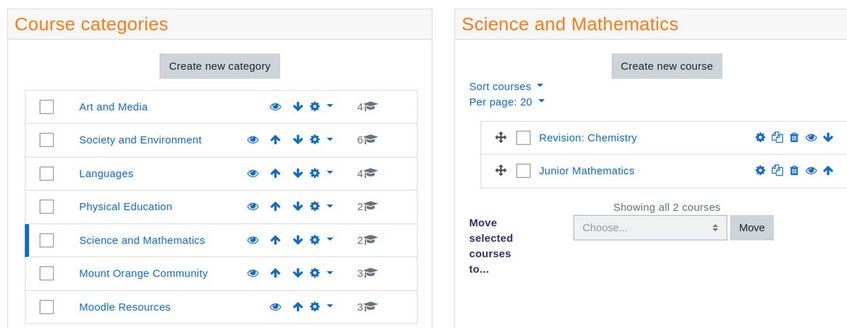
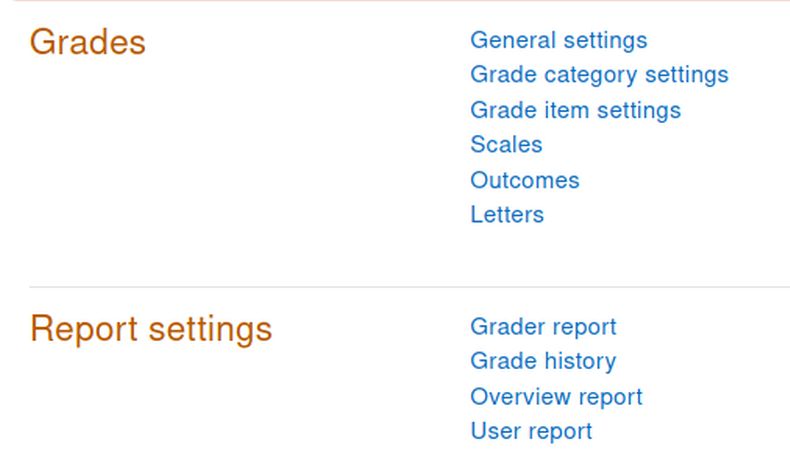
To add a new course to a given category, click on the category. Then click Create a New Course. All courses must be in a category. Go back to Site Administration and click Grades.
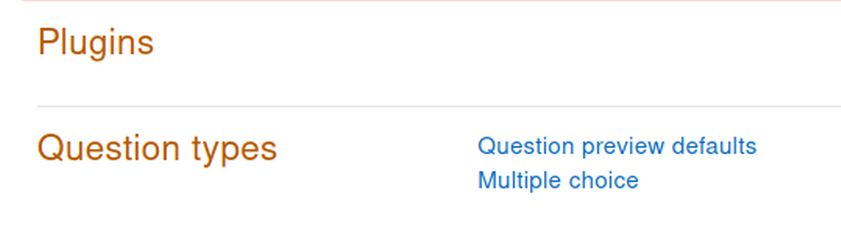
Next click Plugins. This Moodle Demo site is not using any plugins but does have a couple of Question types.
Last, click Reports.
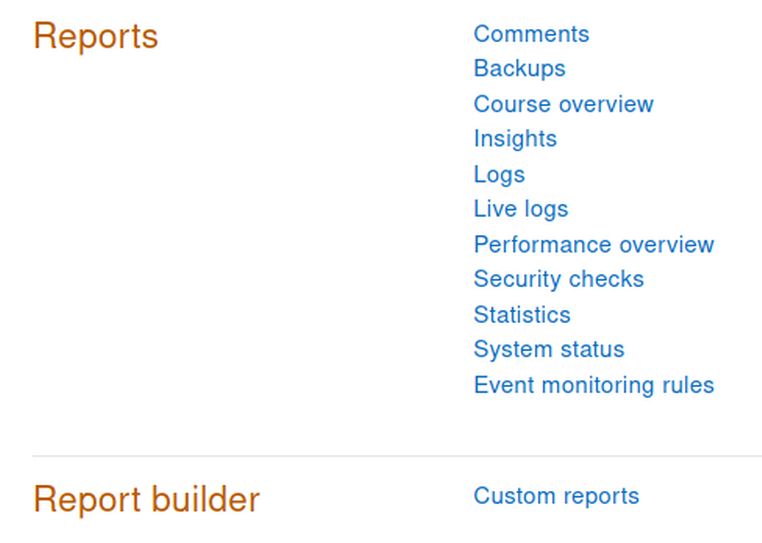
There are 10 kinds of reports. Next click on the hidden Moodle menu in the upper right corner just to the left of Edit Mode:
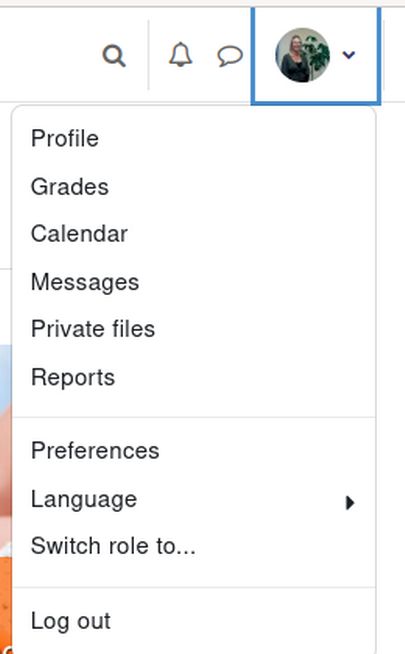
Then click on the Profile link.
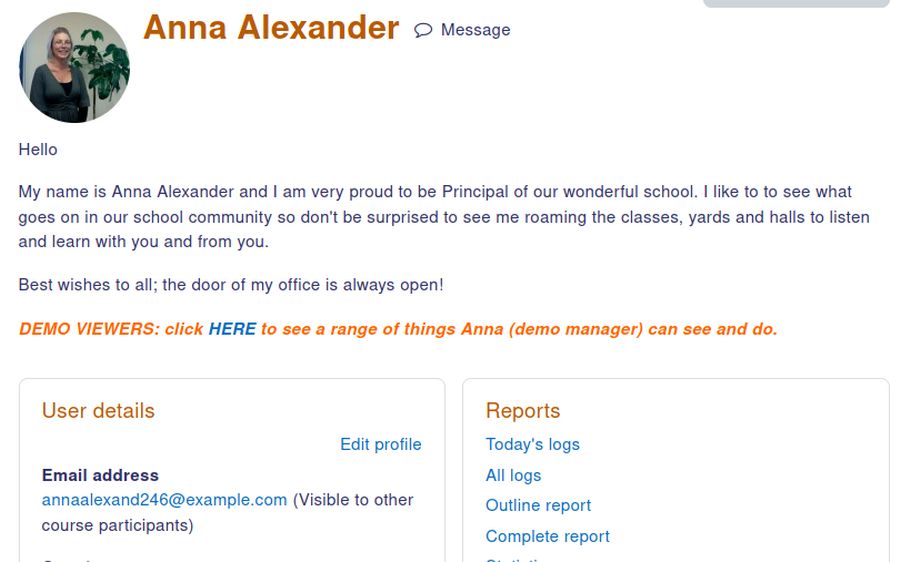
Click on Messages to see messages sent to and from the manager. Then click on Preferences.

Click Event Monitoring where you can subscribe to several courses.
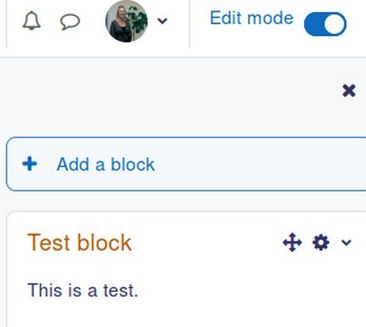
Click on Edit Mode. Then in the right side menu, click Add a Block:
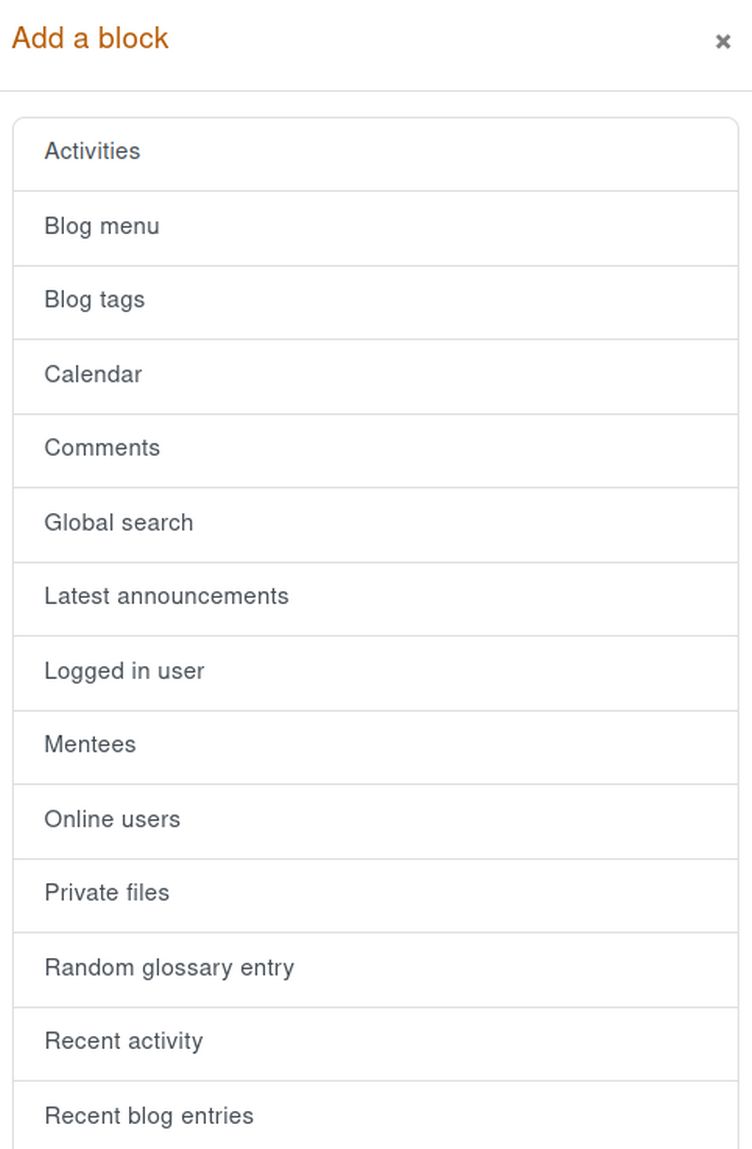
Scroll down and click Text. This will add a new box called New Text Block to the right column of the Manager profile page. Click on the Settings wheel to add a Title and some text. Then click Save.
This completes our tour of the Demo with Content.
Tour of Demo Site without Content
Now let’s take a brief look at the Demo without content. The benefit of viewing a demo site without content is that it is very similar to what your Moodle site will look like when you have first installed it. Here is a link to the Moodle Demo website with no content:
https://sandbox.moodledemo.net/
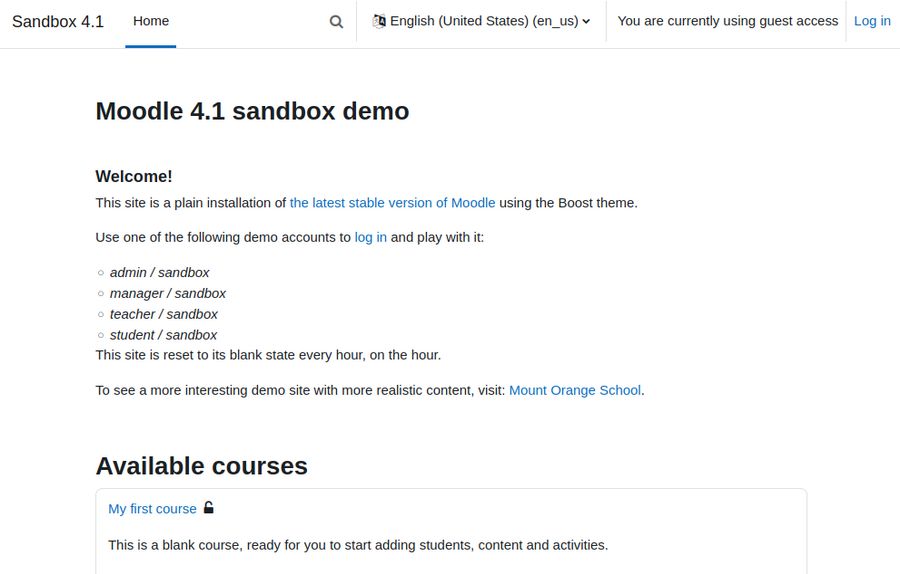
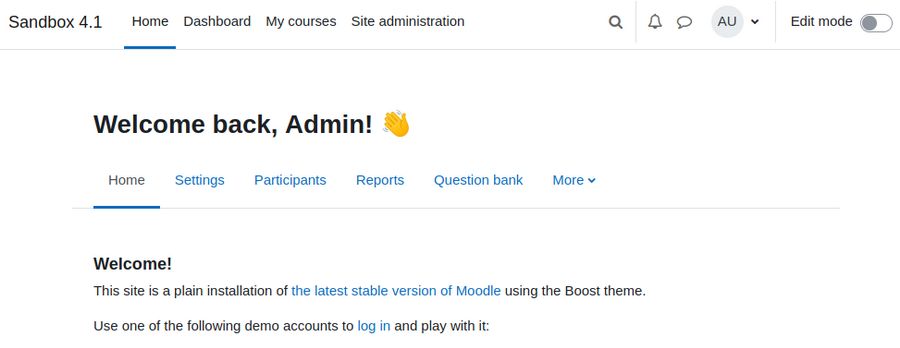
Note that the Home page includes a Welcome article followed by two sample courses. Click Log in. Then type admin for the username and sandbox for the password. This log in goes to the Home page.
Click on the Dashboard menu item to see the calendar and any blocks placed in right side panel.
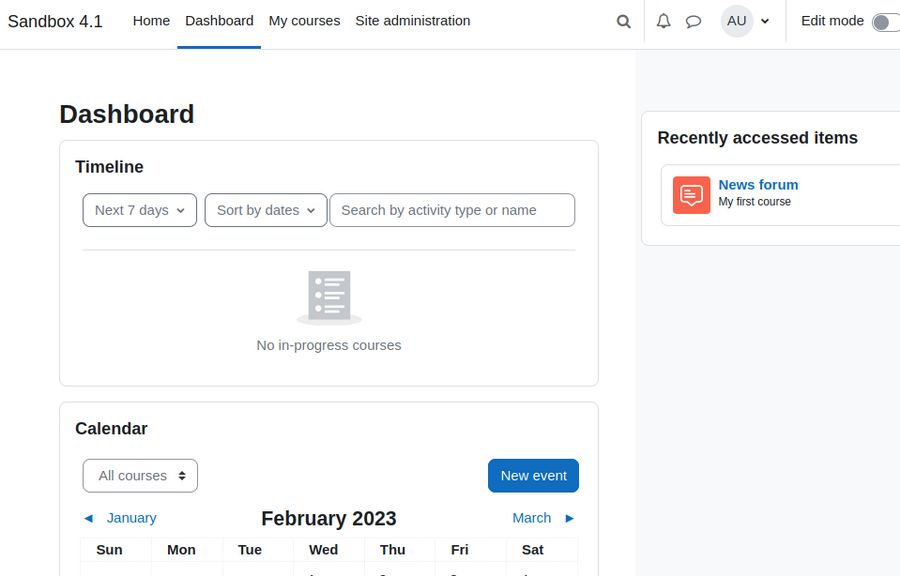
Click on My Courses. The admin is not signed up for or teaching any courses. Click on Site Administrator:
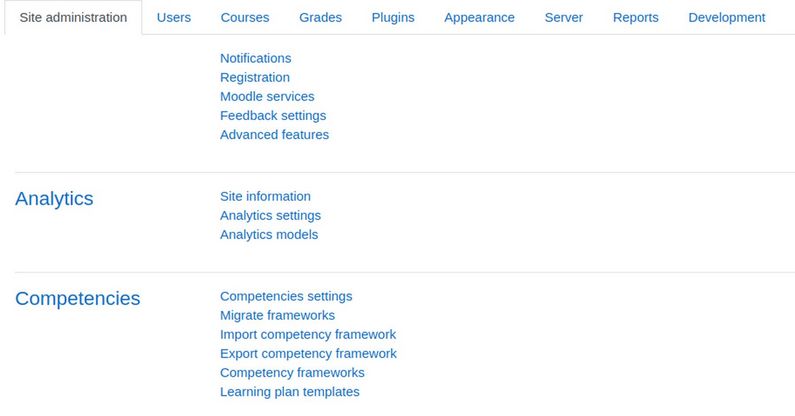
In addition to the six tabs on the Orange School demo site, there are three additional tabs called Appearance, Server and Development. Click on the Plugins tab.
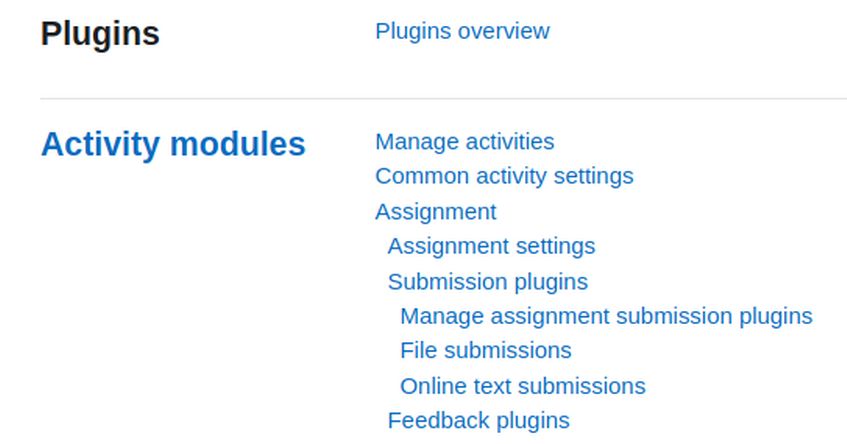
While the Orange School demo showed no plugins, this demo site shows dozens of plugin menu items. Click on the Appearance tab:
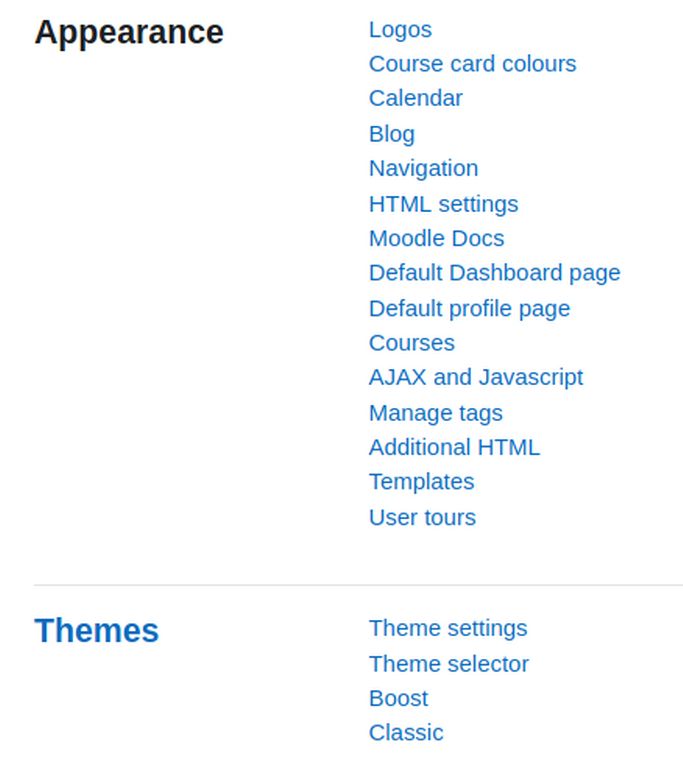
This is where you can change logos, course colors, navigation and themes. Click on the Server tab:
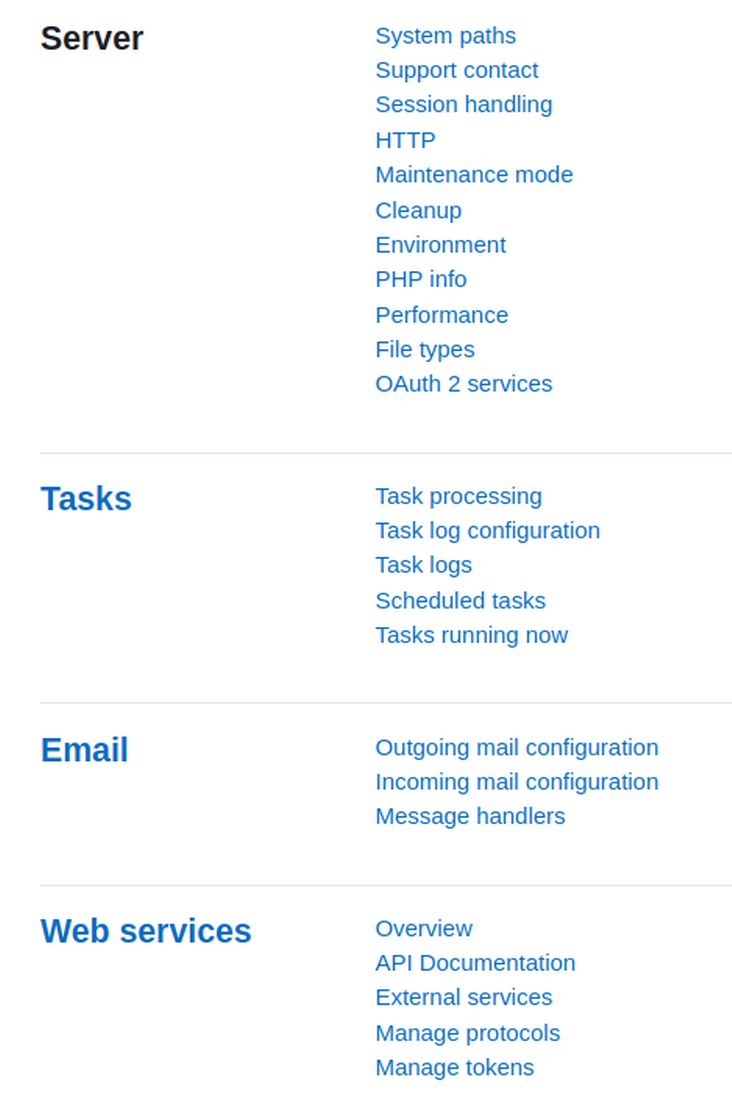
This is where you can set tasks and check PHP Info and email. Click Development.
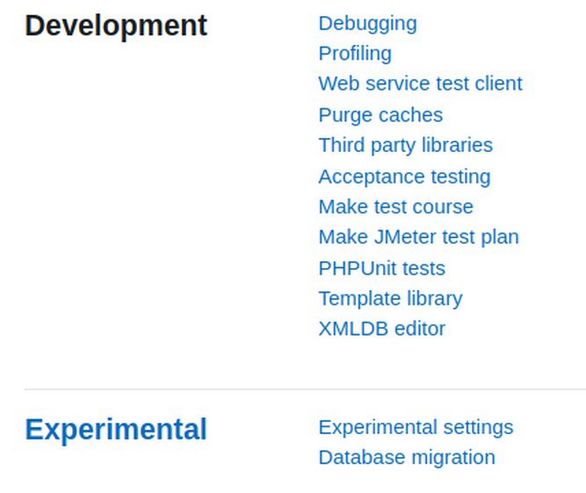
Click Make Test Course to see a screen where you can create a course with several sections, activities and files. Sadly, this tool does not work on the demo site because debugging is not set to Developer. Go back and set Debugging messages to Developer. Then click Save changes. Then click Make Test course.
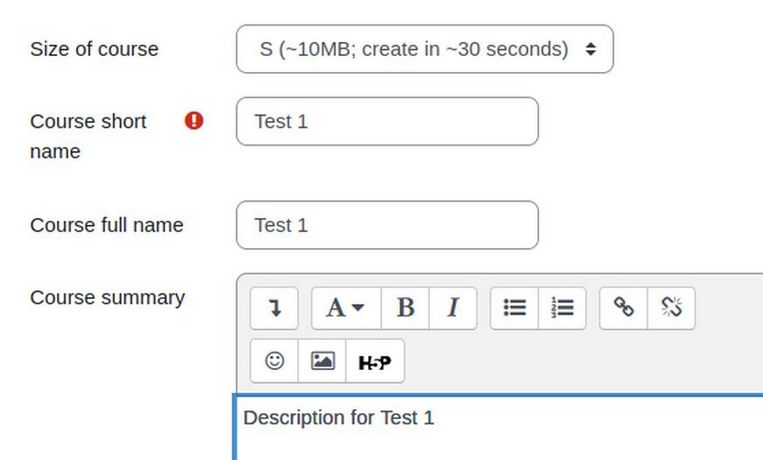
Change the courses size to Small. Give the course a name and a description. Click Create Course. Then click Continue.
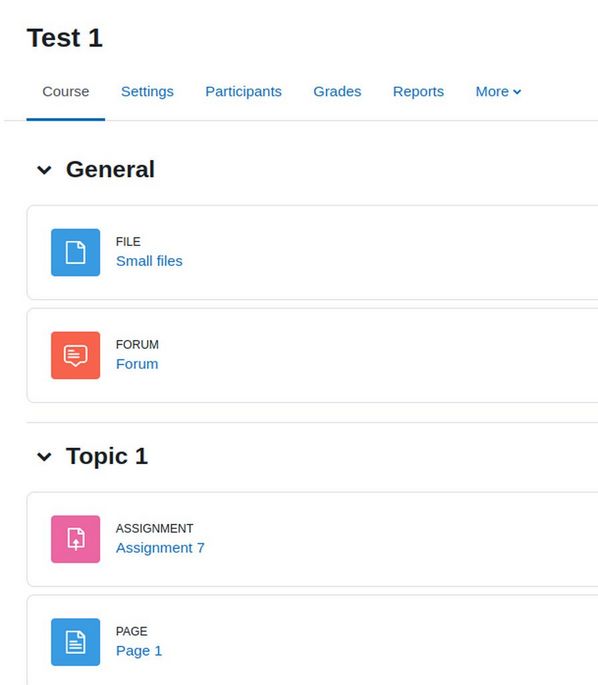
This results in a course with 10 topics. Each topic has at least one assignment and several pages. In addition, a file was created for the course and a forum was created for the course.
Click on the Home page to see that the course was added to the list of available courses but no teacher was assigned yet. Click Site Administration, Courses. Manage Courses and Categories. There is only one category called Miscellaneous which has all three courses. Log out of this Moodle demo website.
What’s Next?
This completes our tour of of the two Moodle Demo websites. In the next article, we will review how to create your own Moodle website with the Hestia Control Panel.