
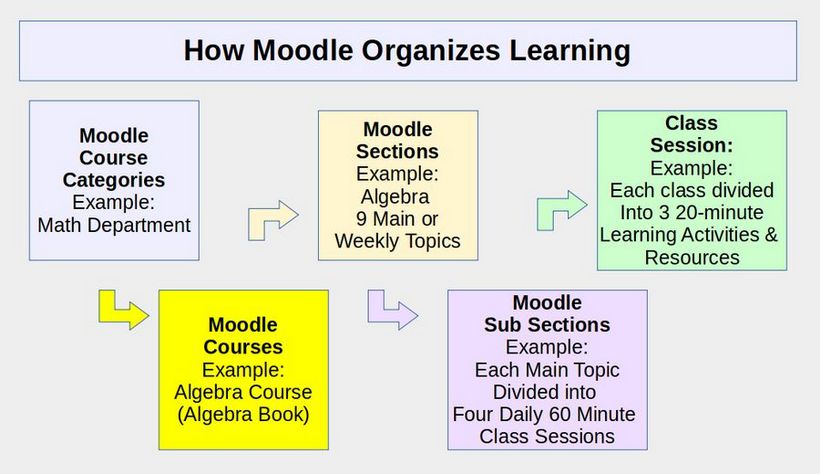
Now that we have a list of users, we are ready to create our Categories and Courses. The term Categories is a bit confusing. The common term in US schools, colleges and universities is Departments. However, in Moodle Categories means categories of courses. First, we create our categories for our courses and then we place our courses in these categories.
Moodle Orange School Demo Site Categories and Courses
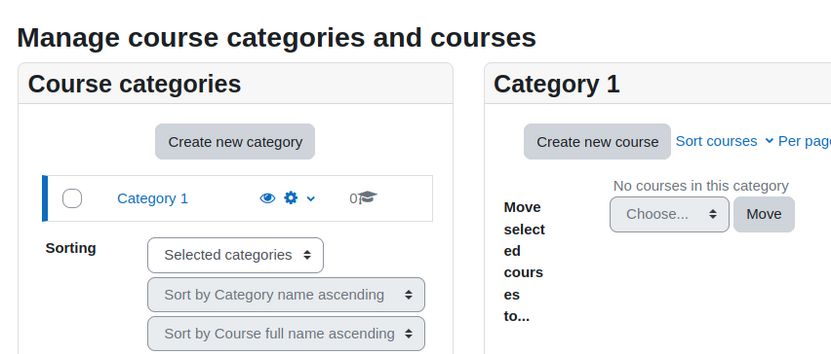
On our own Moodle website, there is only one category called Category 1 and there are no courses.
To better understand what Moodle Categories and Courses looks like, log into the Orange School Demo Site as a Manager.
Here is the link: https://school.moodledemo.net/login/index.php
Click on Site administration, Courses.
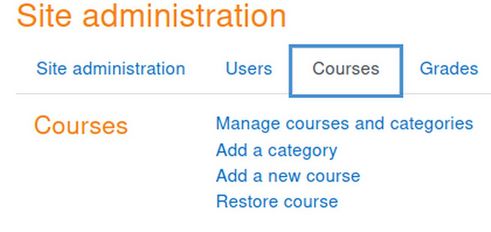
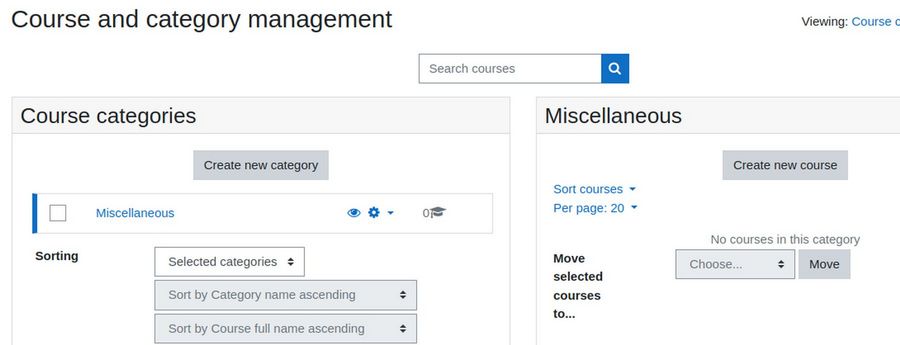
Then click Manage courses and categories.
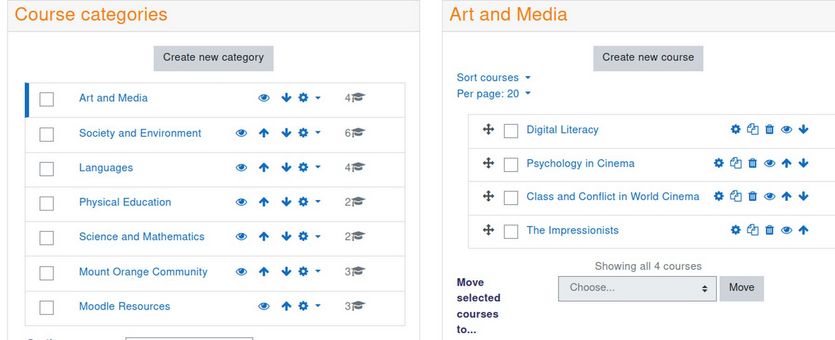
From this page, in the left column, you can create a new category. Then select the category for it to appear in the right column. In each category, you can create new courses. The number of courses in each category is shown on the right column of the Course Categories table. The Orange School has 24 courses divided into 7 categories. Click on the Settings wheel for the Languages category.
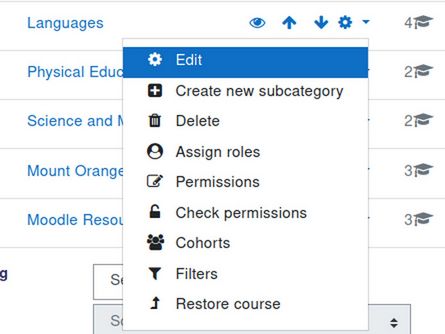
Then click Edit. There is no Category ID and there is no description for any of the categories. Also no roles have been assigned to any of the categories. Click Create new category:
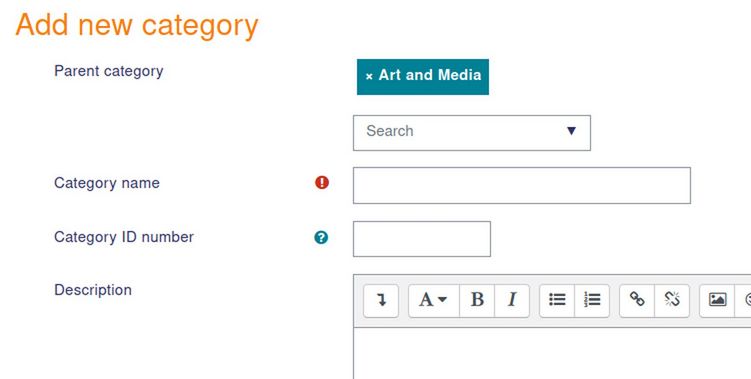
The only required field is the Category Name. Go back to the previous page and click Languages, Then click on the course English with H5P. Then scroll down the page.
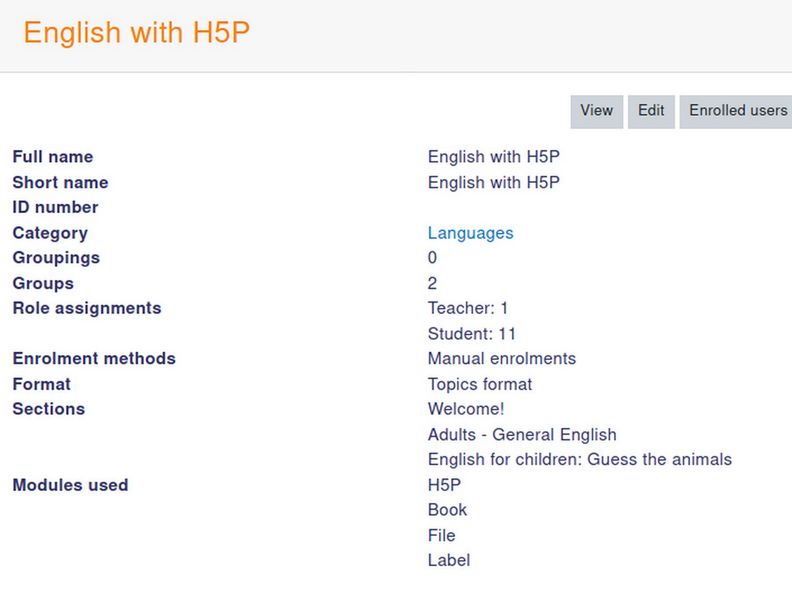
The long and short name are the same. The course is divided into three sections or classes and uses four modules, H5P, Book, File and Label. Click View. This takes us to the course Welcome page.
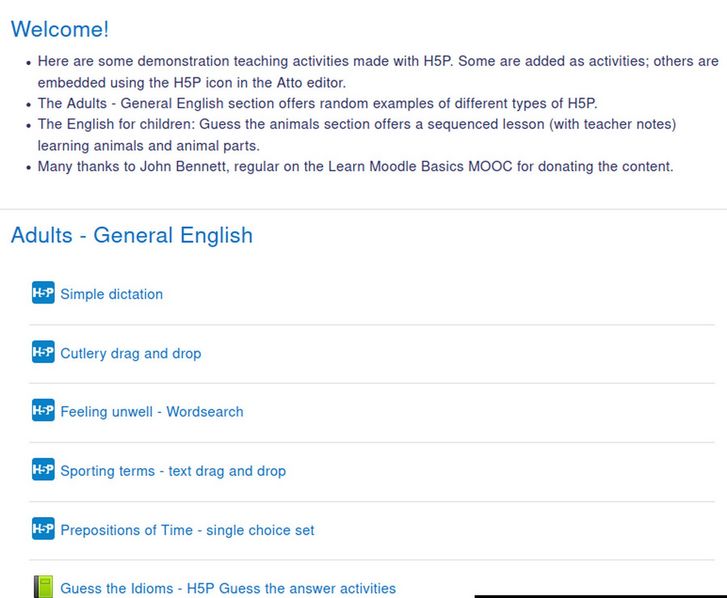
We will review some of this content in the next chapter. Click Back. Then click Edit. There is a Course Full Name and short name. Then a search drop down arrow is used to place the course in a course category. This is why we need to create our categories before we create our courses:
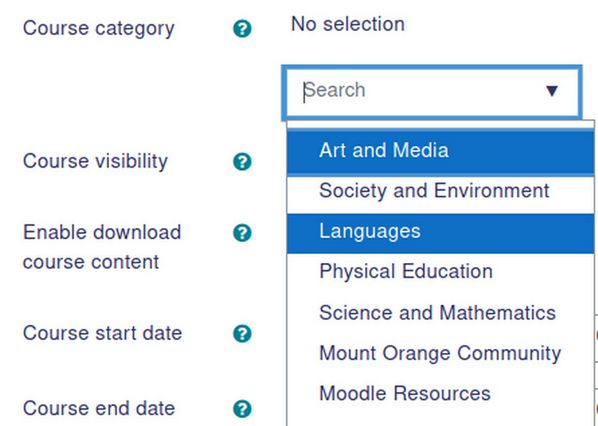
You then click on calendars to set the course start and end dates. Then write a course summary. Then scroll down and add a course image. At the bottom of the page are 8 additional course settings:
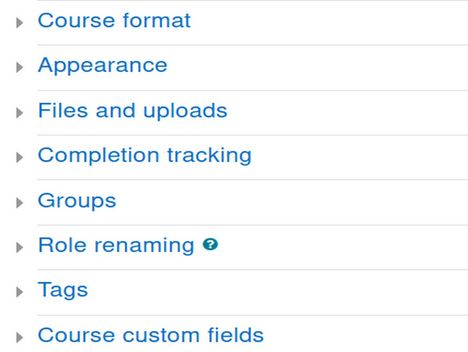
Click on Course format.
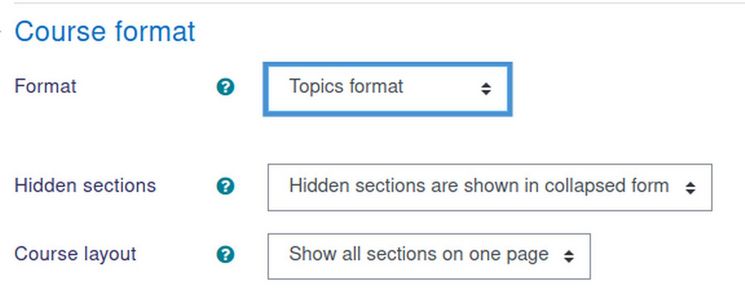
Format options are Topics, Single Activity, Social Format and Weekly format. The default is Topics. Course layouts can either be all sections on the same page or, if you have a lot of content in the sections, select Show One Section per Page. Then click Appearance:
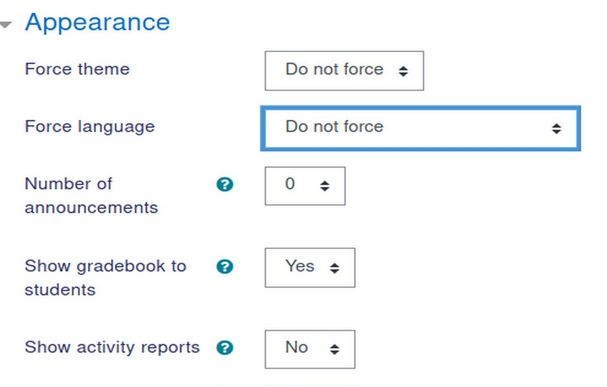
You can choose a particular theme with different themes for different courses. You can also choose different languages for different courses. Next click Files and uploads. Here you can set the site upload limit for each course. Then click Role renaming:
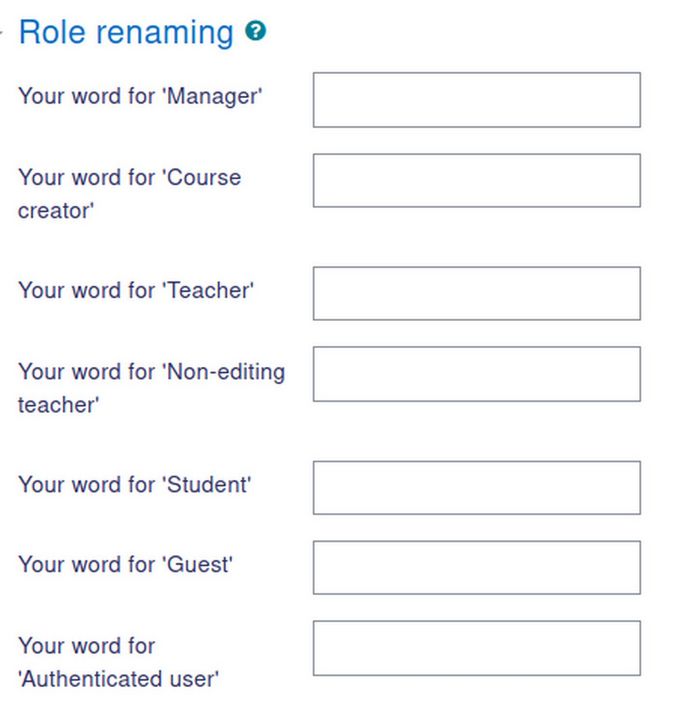
Here you can choose a different name for each of the Moodle roles. Then click Tags. Here you can note if this course is Basic, Intermediate or Advanced. Then click Course Custom Fields. The only custom field on the Demo Site is called Module Credits:
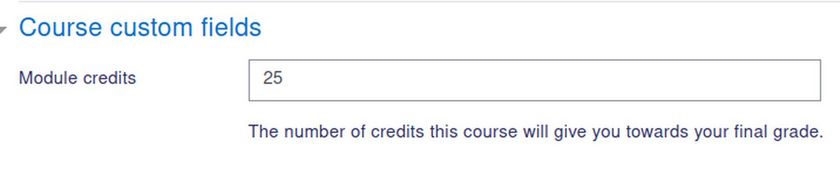
We will create a couple of additional custom fields when we create our own categories and courses. Log out of the Orange School Demo site and into your own default Moodle Site (or the Moodle Sandbox Demo site).
Create Your Own Course Custom Fields
Click Site administration, Courses, Course custom fields. It is best to place fields in field categories. We will therefore create a category. Initially, there are no fields or categories. Click Add New Category. This will create a category called Other Fields.
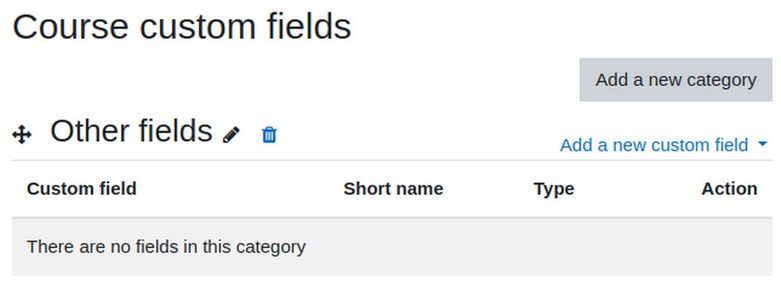
Click on the edit pencil and change the name of the category to Course Information. Then press Enter on your keyboard. Then click Add a new custom field.
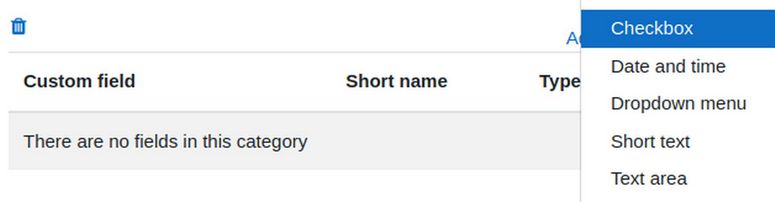
There are five field options. We will use Short text. Give the field a Name, Short Name and Description:
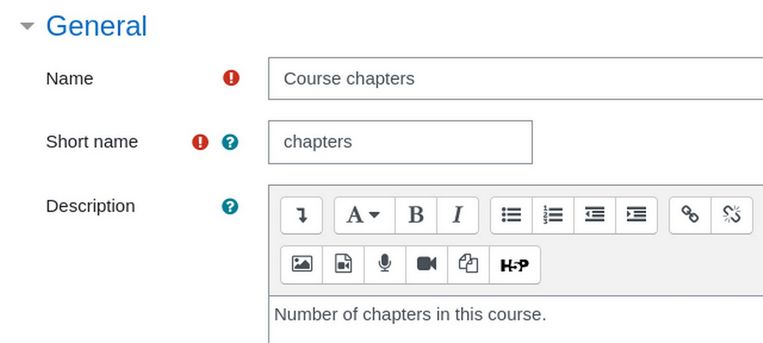
Then click Save Changes. Then click Add a new custom field and create a field called Course Sections. For Description, type Number of sections in this course. Click Save changes.
Create Your Own Custom Categories
If you have been teaching for a while, it is likely that you have already developed your courses and are interested in using Moodle as a platform to share your courses with others. But you may not have given as much thought to placing your courses in categories. Certainly, you can just use the default category or create a single new category. For our example, we will use our 12 courses at College in the Clouds.
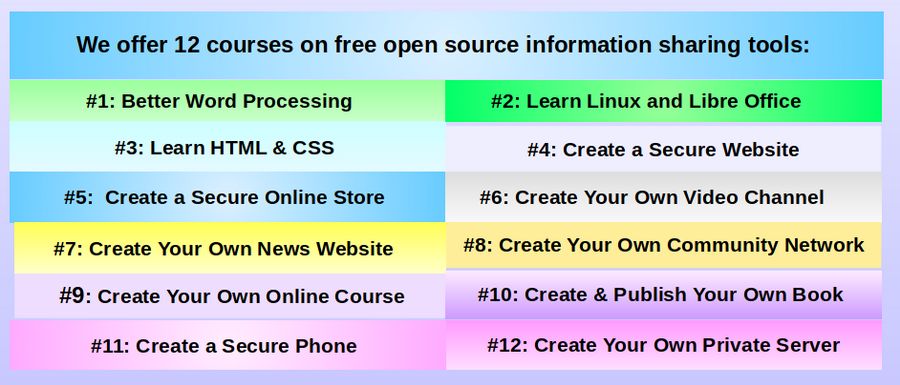
Our first four courses are essential prerequisites for our other courses. We then have four courses on using the Joomla Content Management System. The final four courses are Applied Courses that each teach a different set of skills. We have already built the content for all of these courses on a Joomla website called College in the Clouds dot org. Our goal is to offer all of these courses on a Moodle website called College in the Clouds dot com.
We will therefore divide our 12 courses into the following three categories – each with four courses:
Information Sharing Essential Skills
Joomla Information Sharing Skills
Applied Information Sharing Skills
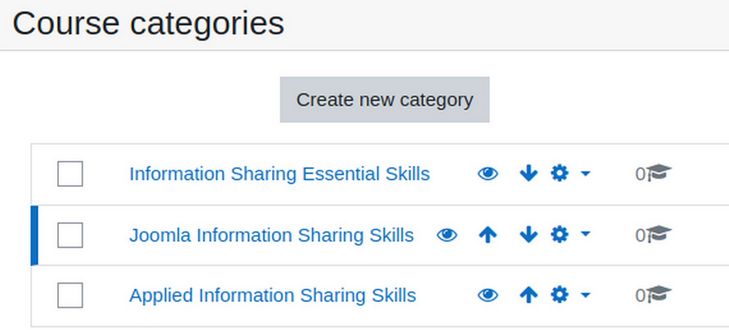
Once you have defined your own categories, click on Site Administration, Courses, Manage Courses and Categories.
For the first category, we will edit and rename Category 1. Then type in your new Category name and a short description. Then click Create Category.
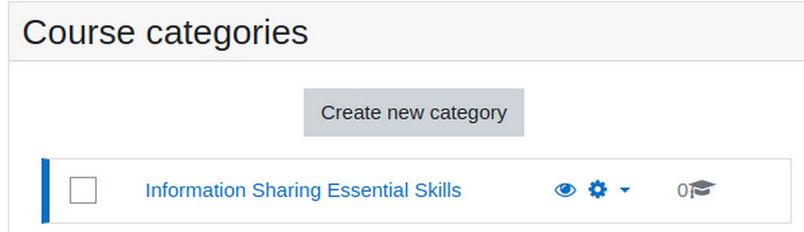
Then click Create New Category. Use the Search arrow to change the parent category to Top. Then type in a name and a description and click Create Category. Repeat for the third category. Here are our three categories:
Create your Courses
Now that we have created our Moodle categories, we can create the courses in each category. Click the first category in the left column and then in the right column, click Create new course. Use the Course title for the Course Full Name and short name. Add a brief description. Here is our table of 12 courses and descriptions:
|
Course Name |
Course Description |
|
1 Better Word Processing |
How to create better documents. |
|
2 Learn Linux and LibreOffice |
How to create a Linux computer and use LibreOffice. |
|
3 Learn HTML and CSS |
Basic website building skills. |
|
4 Create a Secure Website |
Basic Joomla website building skills. |
|
5 Create a Secure Online Store |
How to use a free Joomla tool called Phoca Cart to set up an online store. |
|
6 Create your own Video Channel |
Set up your own video network with free open source video production tools. |
|
7 Create your own News Website |
Turn your Joomla website into an online news organization. |
|
8 Create your own Community Network |
Create a membership network and a topic based discussion board. |
|
9 Create your own Online Course |
Set up your own online educational program combining Joomla with Moodle |
|
10 Create & Publish your own Book |
Use LibreOffice and Sigil to create a book and post it to retailers through Ingram Spark. |
|
11 Create a Secure Phone |
Replace your Hacker Heaven I-phone or Android phone with a secure Linux phone. |
|
12 Create your own Private Server |
Create and manage youro own private server. |
Then scroll to the bottom and click on Course Information.
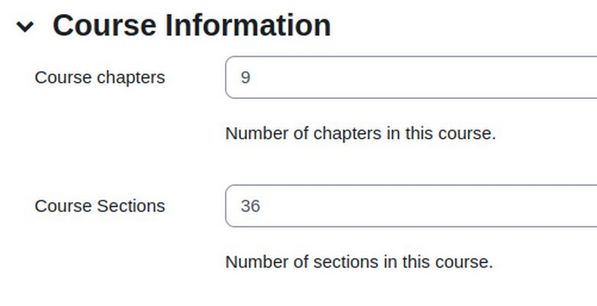
For course chapters, type 9 and four course sections, type 36. Then click Save and Display. This takes us to the Course Home page:
We will add the content for our first course later. For now, repeat the course creation process to add your remaining courses. Then for the first course, click Participants. Then click Enroll Users.
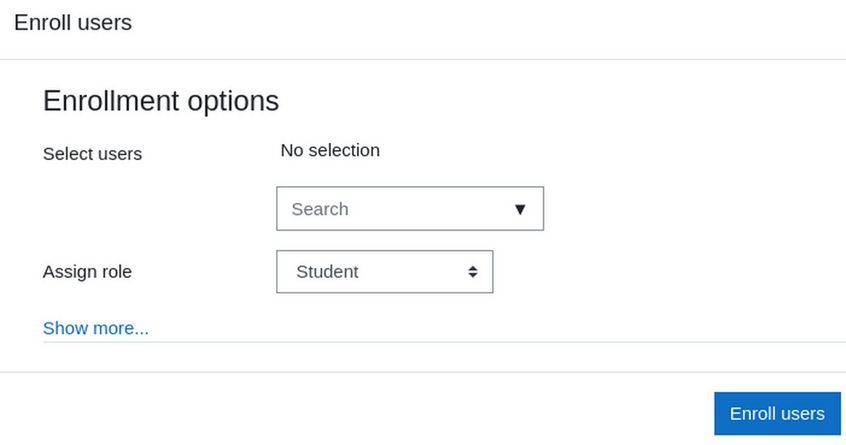
Click the Search drop down arrow. Then click Student 1 and Student 2 boxes. Then click Enroll Users.
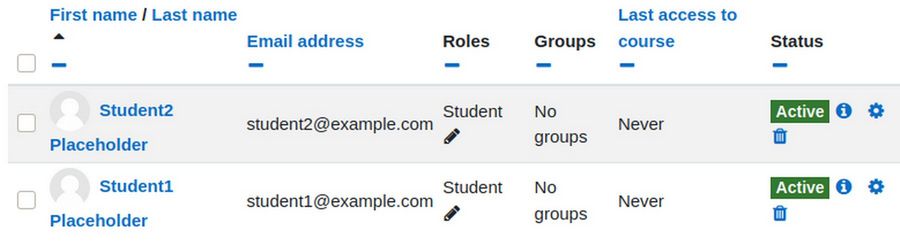
Then click Enroll Users again. Change the role to Teacher and select the two teachers. Then click Enroll users. Repeat to enroll the Teacher-Adviser and Student-Mentor. Finally, go to your logged in Home page to see the courses listed at the bottom of the page:

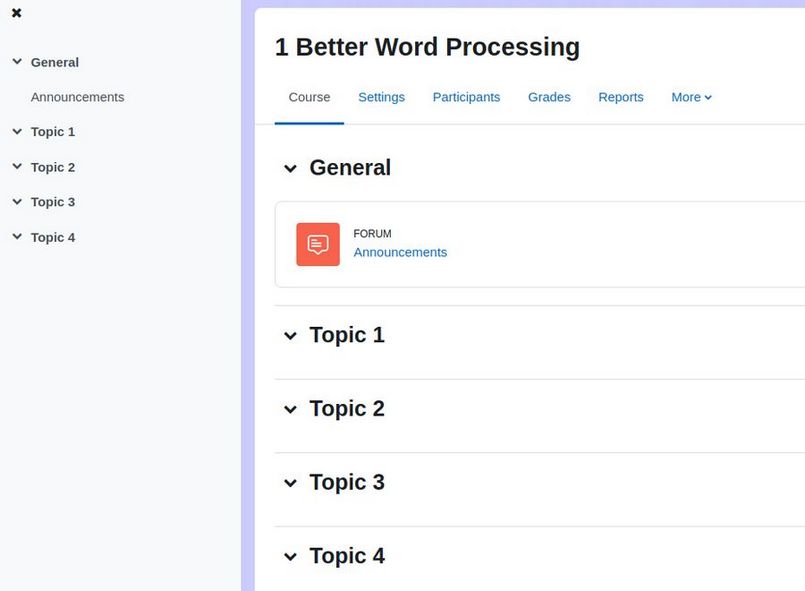
Click on the Course Name to go to the new Course Home page:
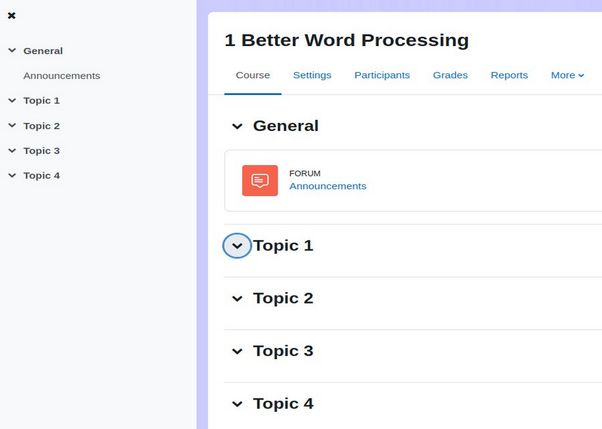
Click Edit Mode.
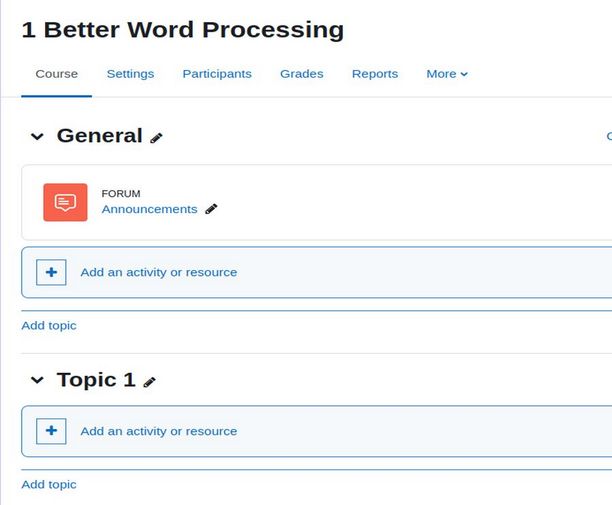
Here we can change the names of the courses topics to our own course topics and then add Announcements, Activities and Resources to each topic.
Add Courses to the Non-logged in Home page
Now that we have some courses to display, we can display them on our non-logged in Home page. To do this, click Settings and scroll down to Site Home. Then add back List of Courses. Then click Save changes. Then visit the site as a non-logged in user.
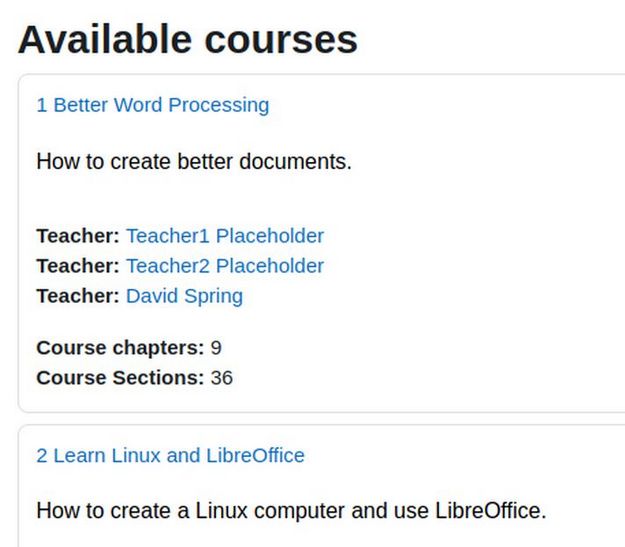
The course names are hard to read. We will improve the appearance of our courses later when we install a better theme.
What’s Next?
In our next chapter, we will review how to add a plugin to better organize our course topics. We will then cover the options Moodle offers for adding content, activities and resources to our new course topics.