
Course videos can introduce your students who are more visually oriented with a summary of the most important information in each lesson. The first step in creating a course video is creating a course slide presentation. You can create one slide presentation per topic or one slide presentation per lesson.
Ideally, you should create your written lessons first. As noted previously, each of our courses includes 9 chapters each of which is divided into 4 sections, with each section associated with a one hour video conference. If we created one video per section, the video might be an hour long. As each section or lesson includes two to four Topics, a better option is to create one video per Topic. With 36 sections per course and an average of 2 to 3 topics per section, we will be making about 80 to 100 15 to 20 minute videos per course.
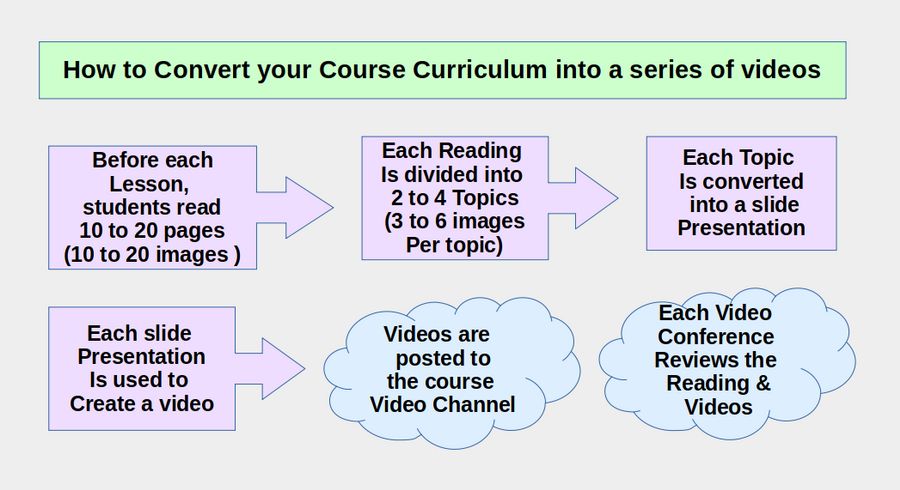
Each of our written lessons or sections is 10 to 20 pages long and includes 10 to 20 images with the intention that it can be read in about one hour. Each topic we therefore be about 3 to 5 pages long and include 3 to 5 images. Most images are likely to be screen shots which will not be the correct ratio for our videos – all of which should be 16 by 9. It is common for instructors to just display their written article and then explain the steps. But it is better to create 16 by 9 images which will display better on the video.
Here is a table of of the videos we will create for the first week of our course on creating a secure online store:
|
Sec # |
Pages |
Images |
Topics |
|
1.1 |
13 |
15 |
3 (Linux Options, Reflashing, Stick) |
|
1.2 |
17 |
35 |
2 (Linux, Libre Writer) |
|
1.3 |
14 |
14 |
2 (VPS, Hestia) |
|
1.4 |
11 |
7 |
2 (midnight, PHP) |
|
Total |
55 |
71 |
9 videos for Week 1 4 class sessions |
Create Slide Presentation Images
We will begin by creating our slide presentation images – some of which can be taken from your section article. We will change the ratio to 16 by 9 and therefore change the images to 1200 by 675.
Create Slide Images with Libre Draw
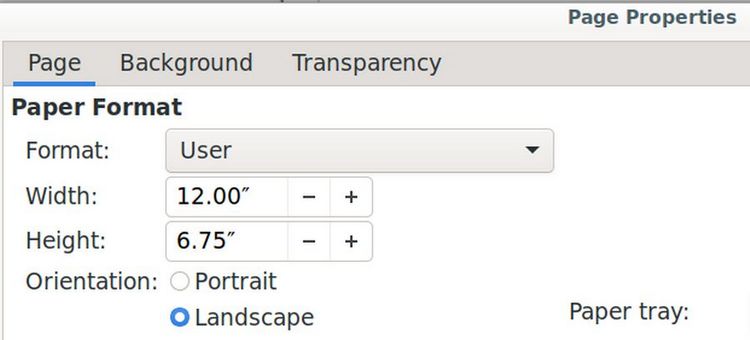
A simple way to create slide images for your Topic video is to use a free tool called Libre Draw. Libre Office is completely free. To create a new Drawing, open Libre Writer and click File, New, Drawing. This will bring up a slide set for Portrait, Letter 8.5 inches wide by 11 inches high. Because we will be creating images for videos, we want the image ratio to be 16 wide by 9 high.
Create a New Slide Template
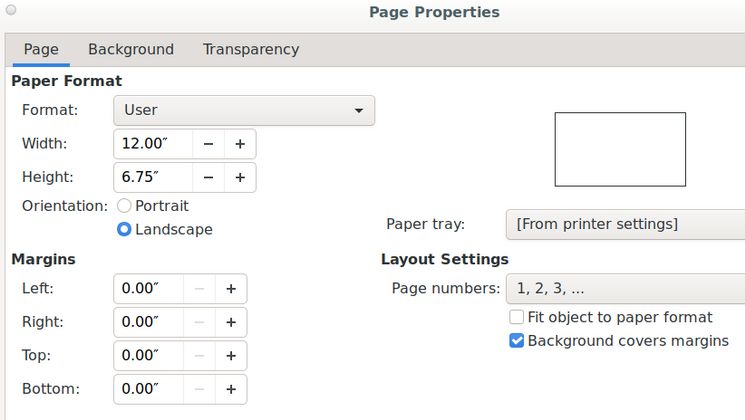
We could go to Page, Page Properties and change the Page Format to 16 by 9 (or 12 by 6.75) for each slide we make. However, because we will be creating a lot of images, it is better to create a new slide template so that it is already set to a ratio of 16 x 9.
Click on Background and give it a color of #eeeeee – which is light gray. Then click OK. Then click File, Save as Template. Name the template 12 by 6.75 drawing and place it in the draw folder. Then check Set as Default Template and click Save.

To see if it works, close the Libre Draw document without saving it and open a new Libre Draw document. Click Page, Page Properties.
Then add your text and images and save the drawing with two digit numbers at the beginning of the file name, for example 01-first image , 02-next-image to keep the images in order.
Use Libre Draw to Combine Text and Images
At about 10 to 20 images per video, we will be creating about 1000 slide images per course. Below is our first Libre Draw slide document:
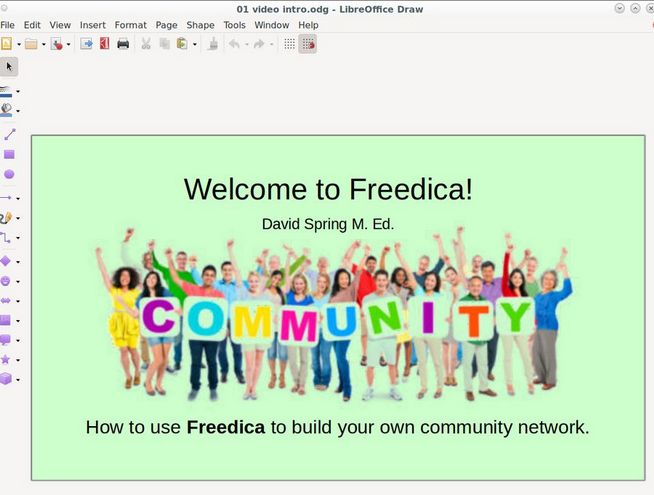
It was created with one text box at the top and another one at the bottom. In between is an image. The image originally had a white background. It was made transparent by selecting it and clicking on Tools, Color Replacer:

With this tool, you can use the color picker to make any color transparent. To make white transparent, just click Replace.
Capture Images with Flameshot
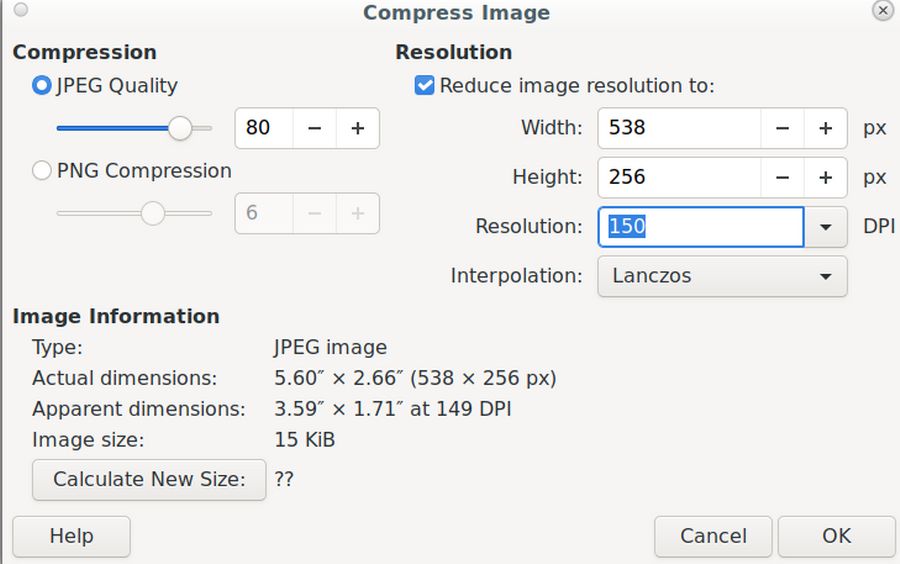
Once you are finished placing your images and text boxes in the workspace, use Flameshot to capture each image and place it in a Writer document. Right click and compress each image to 150 DPI JPEG.
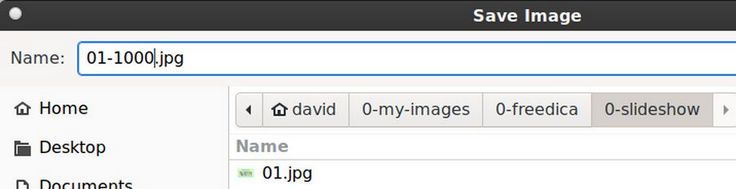
Then create a slideshow images folder. Then right click on each image and click Save As and save the images as 01, 02, 03, etc.
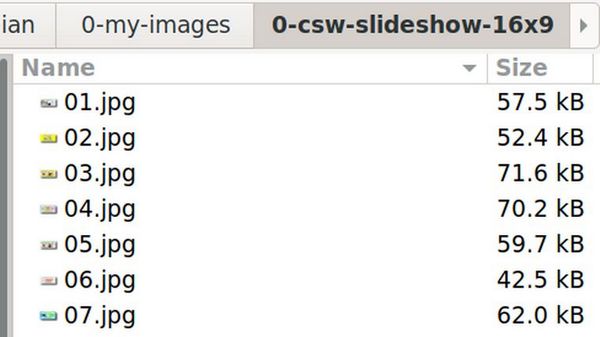
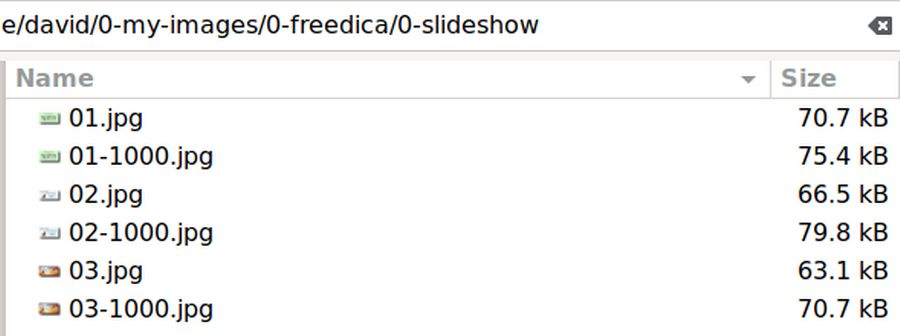
Note that the file size for each image is under 100kb.
Use Gthumb to resize and then crop each image
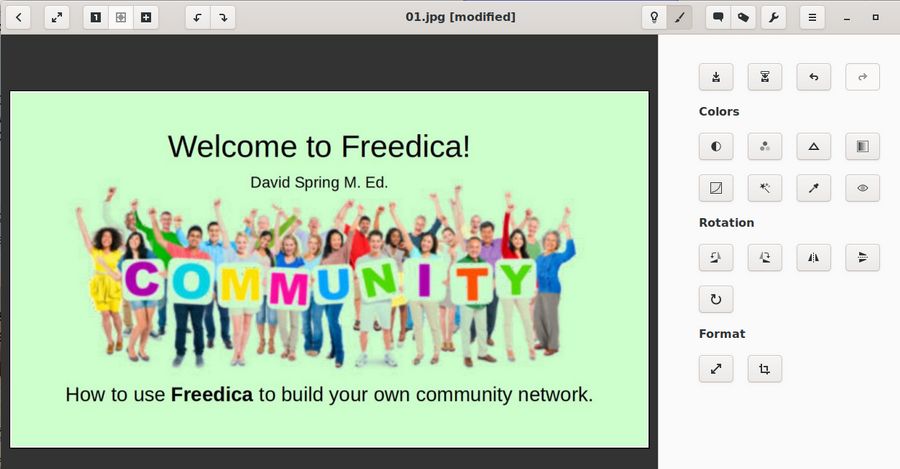
Once you have saved all of your slide images to a slideshow folder, start the Gthumb image editor and go to your slideshow folder. Then select your first slideshow image:
In the lower right corner, click Format, Resize
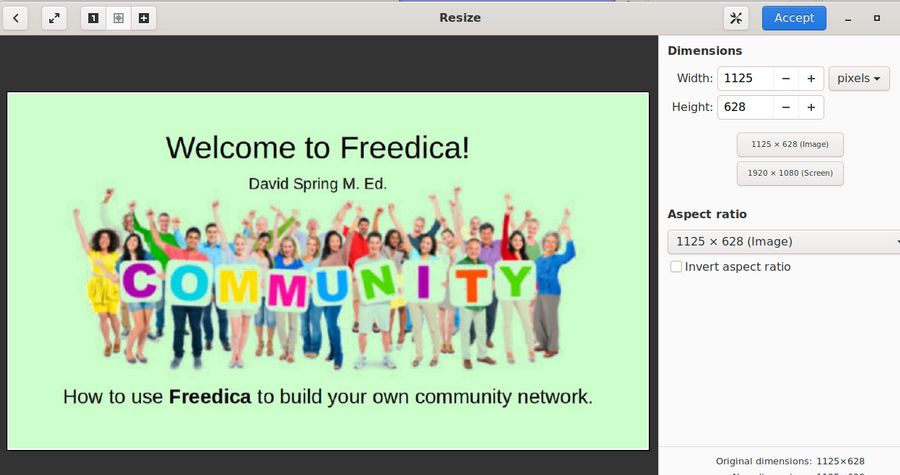
This image is 1125 by 628. We want 1000 x 562 which is a 16 x 9 ratio. Therefore reduce the height to 562 and click the blue Accept button. The width is now 1007. So click the Crop icon in the lower right corner and click Maximize. Then crop with the width to 1000.
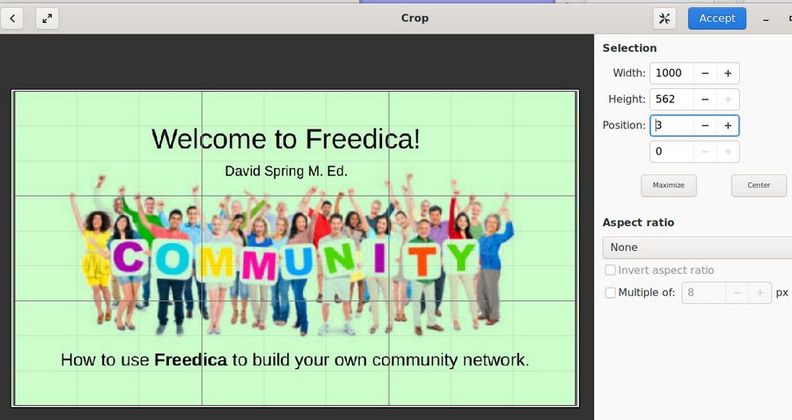
Then click Accept. Then click the Save As icon in the upper right corner to save the image as 01-1000.jpg.
Then repeat with the remaining images. Your slideshow images folder will now have the original images plus a version of each image set for 1000 pixels wide by 562 pixels high (16 x 9 ratio).
Use Libre Impress to turn your slides into a Presentation
We will next use the 1000 pixel wide images to make a Libre Impress Slide Presentation. Click File, New, Presentation.
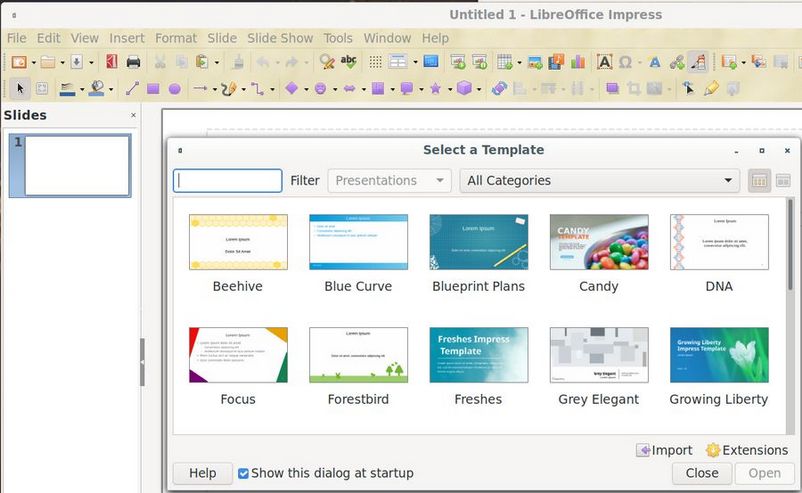
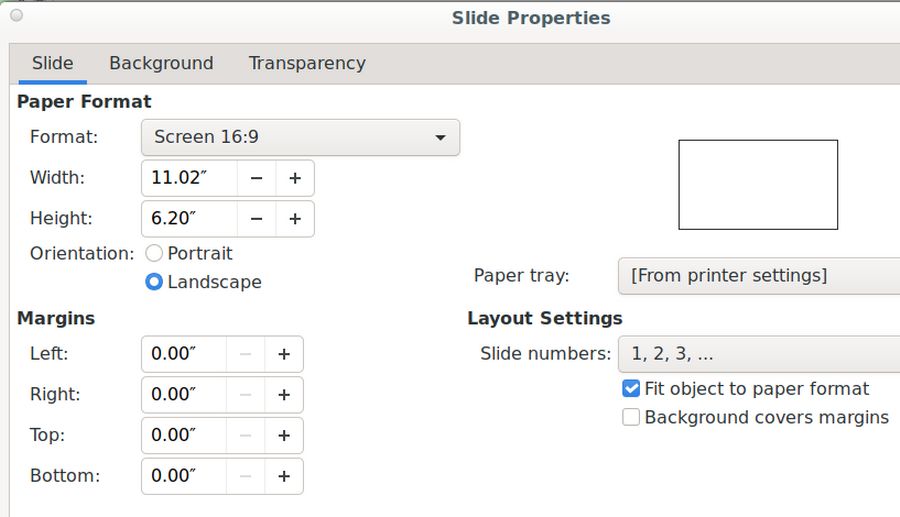
Select a template or just close the template screen. Then click Slide, Slide Properties and select the Format called Screen 16:9 and click Save.
Save the Presentation as Slideshow 01. Click View, Slide Pane. Then delete the text boxes and copy paste the first image (01-1000) into the first slide:
Then right click on the slide in the left slide pane and click Duplicate Slide. Delete the first image. Then copy paste the second image.
Repeat to add the remaining slides. To start the slideshow, click Slideshow, Start from First Slide. To advance the slides, click on the right arrow on your keyboard. To escape Full screen, press the Escape key in the upper left corner of your key board.
Congratulations! You now have your first Topic Slideshow.
What’s Next?
In our next article, we will review how to use the same slideshow we just created to create our first Topic video.