5.4 Set Up Course Auto Enrollment

In our last article, we set up our online school Stripe account. In this article, we will install the Moodle Stripe Payment Plugin and test both the payment gateway and the automatic course enrollment process.

Install the Stripe Payment Plugin
If you have not already downloaded the Stripe Payment plugin, here is a link to download the latest version: https://moodle.org/plugins/paygw_stripe

The Moodle Stripe Payment Gateway plugin can be installed as a typical Moodle plugin. The install ends in the New Settings Stripe screen:

01

Leave it set for 0 and click Save changes. Skip the Notifications screen.

Enable the Stripe payment gateway
Go to Plugins, Payment gateways, Manage Payment Gateways. Click on the eye to enable the Stripe plugin. Then use the arrows to move it to the top of the list

02

Then click Plugins, Payment Gateways where Stripe now appears as an option.

Create a new payment account
To add the Stripe API keys, go to General, Payments, Payment accounts and create a payment account for the Site administrator.

5.3 Set Up a Moodle Payment Gateway

After students have applied to and been accepted into your program, the next step is to enroll them into one or more courses. While some introductory courses may be free (but still require enrollment due to space limitations), more comprehensive courses will likely require paying a course fee before enrollment can be completed. In this article, we will review how to set up a Moodle Payment Gateway.

Why Use Stripe Instead of PayPal
Payment gateways are companies that charge a fee to process orders. The fee ranges from 1 percent to 5 percent. There may also be set up fees and monthly charges. Sadly, the only Payment Gateway that is included with Moodle is PayPal. The good news is that it there is a plugin you can use to offer your students the option of paying with the Stripe Payment Gateway. There are many important reasons to switch from PayPal to Stripe. Below we review just a few of these reasons.

01
Pay Pal Hidden Funds and Frozen Funds Problems
In 2012, there were many cases of customers ordering products online and paying for them with Pay Pal, but Pay Pal had a miscommunication with retailers who never received online confirmation that the payments were made.

Instead, Pay Pal would return a “still pending” code to the retailer. The customer had proof of payment and the retailer even received the payment. But there was a breakdown in communication.

I personally do not recommend Pay Pal for an equally important reason. PayPal has frequently frozen funds of retailers and other business owners for months on end with no way for retailers to get access to those funds. PayPal has been known to suspend retailer accounts and hold retailer funds for 6 months or more. Here is a graphic you get when your account is suspended:

5.2 Moodle Program Registration

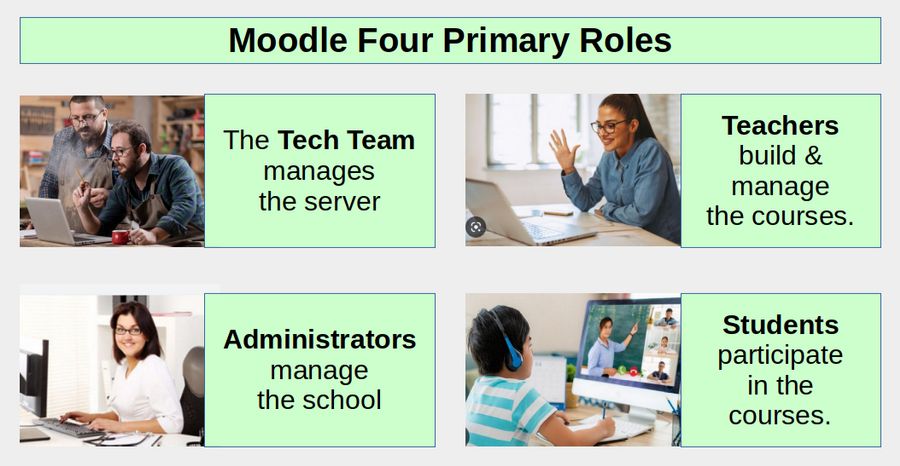
In Moodle, every person from the Tech Team and administrators to teachers and students needs to be registered using the Moodle website interface. It is important to note that registering on the website needs to occur before one can be registered for a course. In this article, we will review how to set up a program registration process with Moodle.

Manual versus Automatic Registration
Moodle offers both manual and automatic registration processes. If you have a small school and are just getting started, you should use the manual process. As you grow to hundreds or thousands of students, you can make the switch to an automatic process. We will therefore begin by describing the manual registration process.

Create a Manual School or Program Application Form
Most students who are interested in attending a school or college understand that there is a limit to the number of students and some prior qualifications are needed to be accepted by the school or college. Students therefore understand the need to fill out an application form. Sadly, Moodle does not come with a Program Application form! We will therefore need to make our own.

We will create a Program application form which students can fill out online and then submit to us via whatever email address we want. We can then review their application and determine whether the student has the qualifications needed to take the course.

Alternately, we can email the student back to ask for additional information – or email them back explaining that the current course is full but that we can put them on a waiting list for a future version of the course. If the student is accepted, we can manually register them for our school and send them an acceptance email – which explains the next steps they need to take to apply for a particular course.

Below is an example of a customizable Program Application form which you can get from our website as a free download:

01

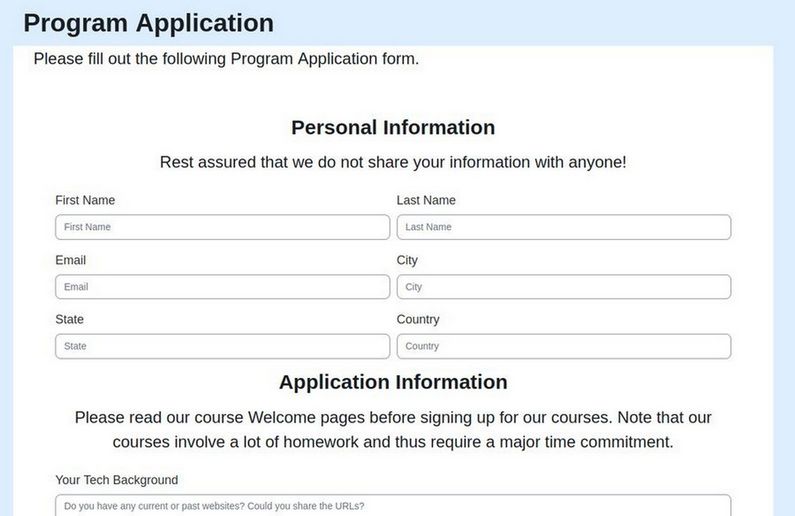
It is a simple HTML form called program_application.html. You can customize this form to whatever questions you want to ask those who are applying to your program. Below are the steps for displaying this form on your Moodle website.

5.1 Four Primary Moodle School Roles

In this article we will review the four primary roles in a Moodle online school program. These are the Tech Team, Administrators, Teachers and Students. The Tech Team manages the server, Administrators manage the school, Teachers manage the courses and Students participate in the courses.

01

If you are setting up your own school to teach your own courses, you may be serving three of these four roles. But for training purposes, we will discuss the roles as if they were separate people – each with a clearly defined set of responsibilities. Let’s take a closer look at each of these four roles.