
Moodle does not provide a video conferencing tool itself, but there are a number of different tools that integrate with Moodle. One of these tools, called Big Blue Button requires setting up a separate server. The server must have at least 4 CPUs and 8 GB of RAM. The second option, called Open Meetings, also requires setting up a separate server. The third option, called Zoom, involves installing a Zoom app and getting a Zoom account for teachers and paying a considerable amount of money. Zoom is not open source and is considered “malware” by many Linux security experts. The fourth and best option, called Jitsi, comes with two version. The first version involves setting up a separate server. The second version is free and simply uses the existing Jitsi Meet server.
We will review using this second version of Jitsi as it does not require setting up a server or downloading any apps or setting up any accounts or paying any money. Jitsi Meet is a very secure option and can be learned by both teachers and students in a matter of minutes. The Moodle Jitsi plugin (which is technically an Activity Module) allows creating jitsi-meet video conference sessions fully integrated in Moodle. These video conferences will use your Moodle username by displaying your username and avatar in video conferences.
Whether you use the public server provided by Jitsi (meet.jit.si) or use your own Jitsi video conferencing server, with this plugin you can create video conferencing sessions in your Moodle courses in a simple way: just configure the domain of the Jitsi server and then, in your course, create a new Jitsi activity. Schedule your video conferences in time and make them accessible with The minutes as you want. In addition, the session will be shown in the Moodle calendar. Jitsi allows video conference recording, direct transmission to YouTube, screen sharing, full screen display, statistics display, among other features and all these options are fully compatible with this module.
Here is a link to the Moodle Jitsi plugin: https://moodle.org/plugins/mod_jitsi
After installing the Jitsi Activity Module, you can adjust these settings:
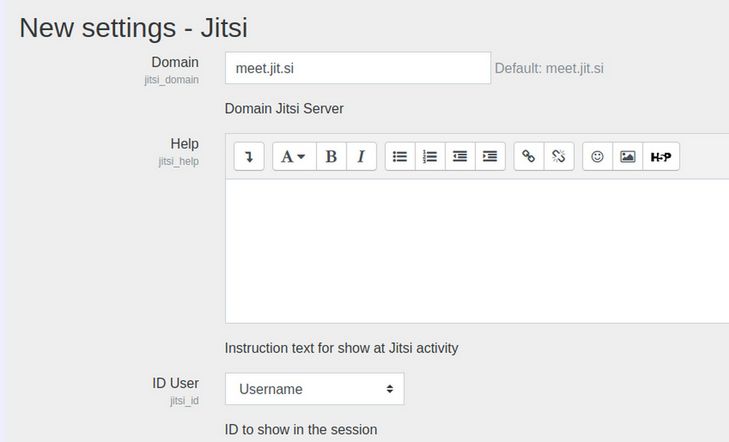
The default domain is to use the Jitsi server. If you wanted to set up your own Jitsi server with a different domain name like video.collegeintheclouds.com you can set that above. To create our own Jitsi meeting room, we will change the domain to: meet.jit.si/college-in-the-clouds
Note: Do not add the HTTPS prefix! You can also add Help instructions and images in the box provided. For ID user, you can either use the Moodle usernames or first plus last name or an alias. Then scroll down the page to set these options:
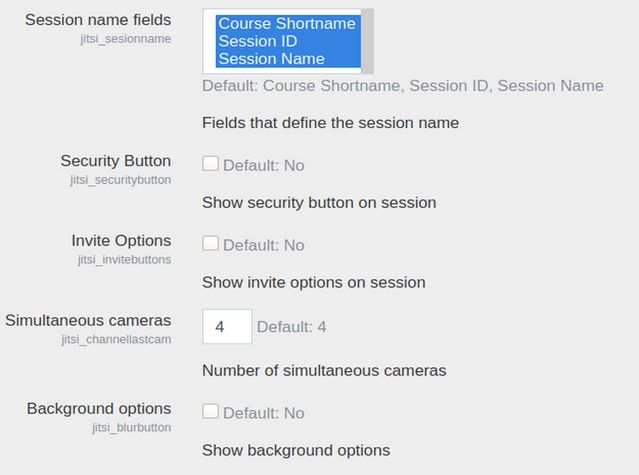
For session name fields, you could just use the session name or the short course name. Check the box to allow Background options. For the rest, leave the settings at their default values. Scroll down the page to see more options:
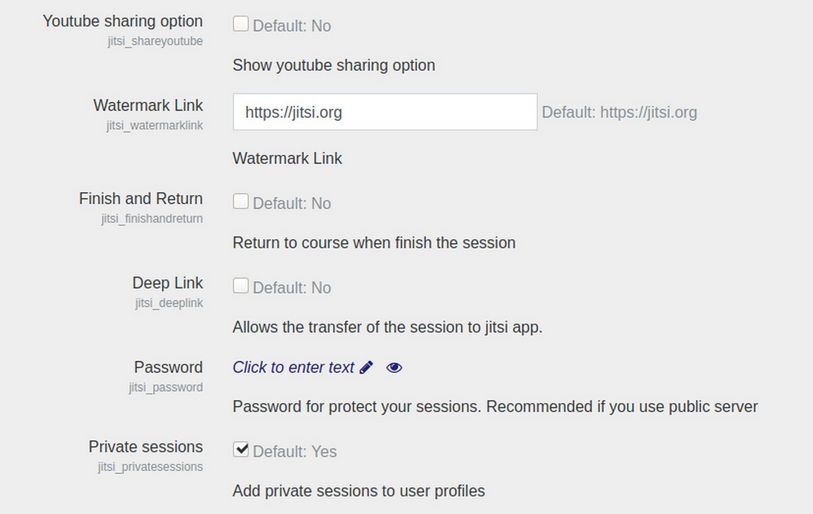
You could add a password if using the public server. But in general, not even this is needed. Leave everything at the default values for the time being. Scroll down the page to see more options.
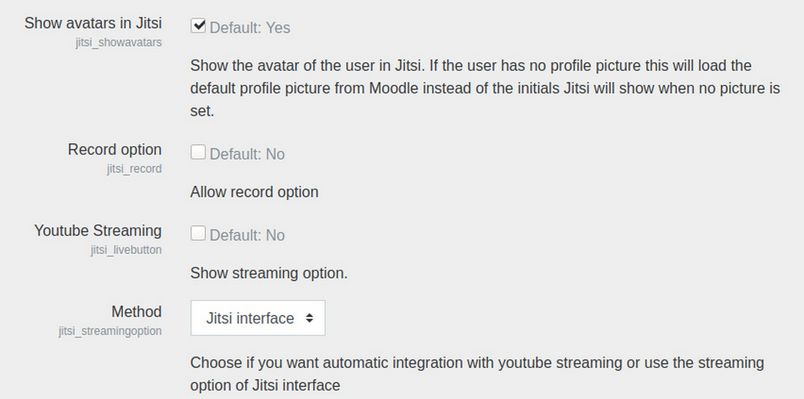
Leave these at the default values. Scroll to the bottom of the page and click Save Changes. Then go to Courses, Activity Chooser, Recommended activities and check the box for Jitsi. To make any changes to the above settings, go to Plugins, Activity Modules, Jitsi.
Add a Jitsi activity to an existing course.
Go to the Home page header area and click on the Settings wheel and click on Turn on Editing. Then go to a Course Class Session, in our case called Section 1.1.
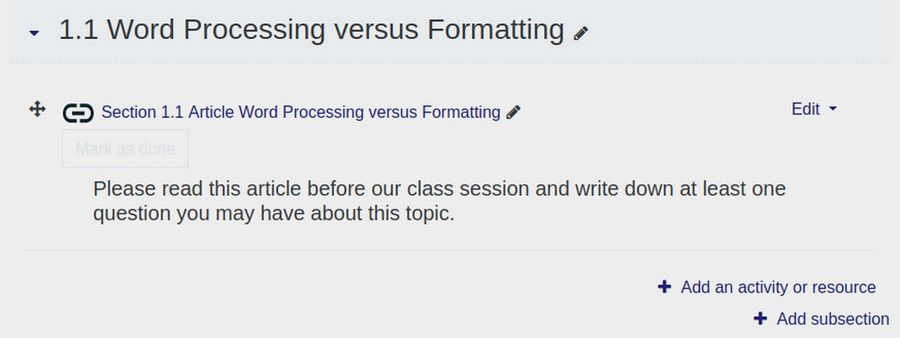
Click on Add an activity or resource. Then click on the Recommended tab. Currently the only option is Jitsi.
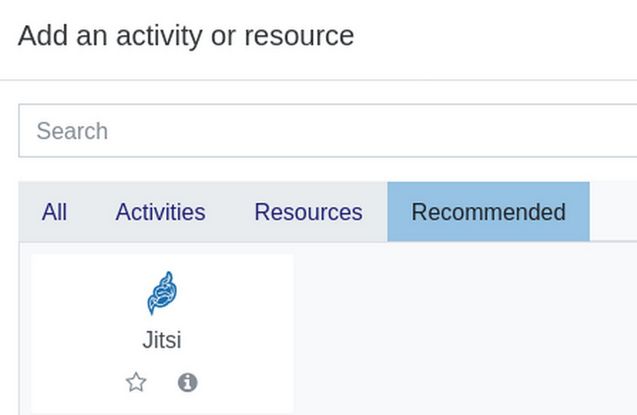
Click on Jitsi.
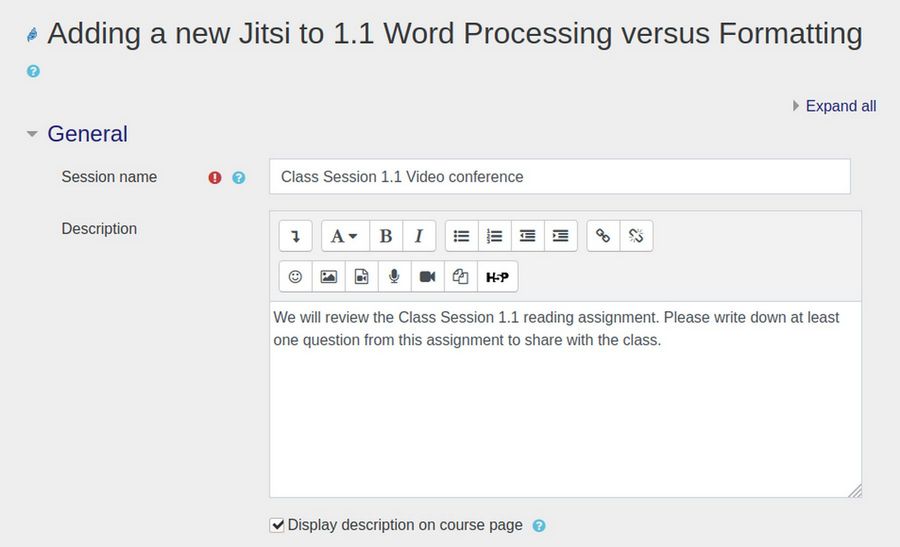
Give the session a name and description. Then scroll down the page:
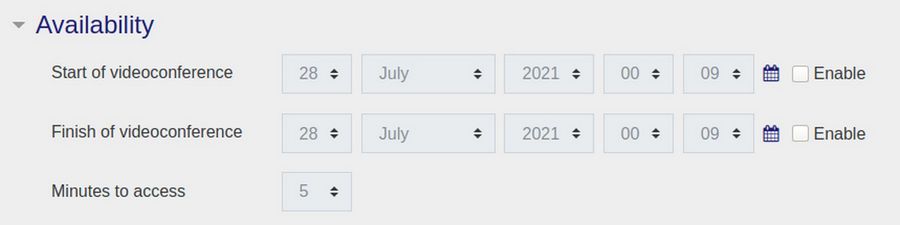
Here you can set the date and start and end time for your video conference. Scroll down to common module settings. If you want to have the activity added to the course grade book, give it an ID number. Then click Save and return to course.

Click on the Class session 1.1 Video conference link:

Click Access:
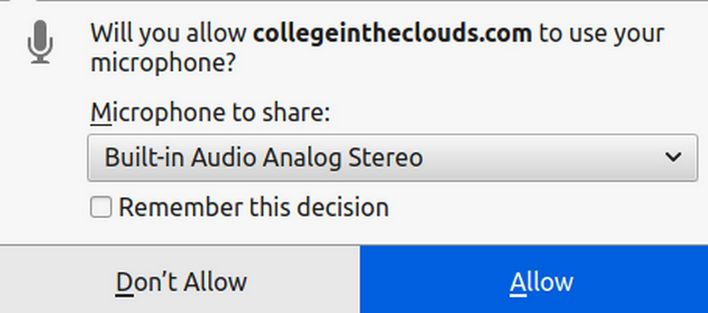
Click Allow.
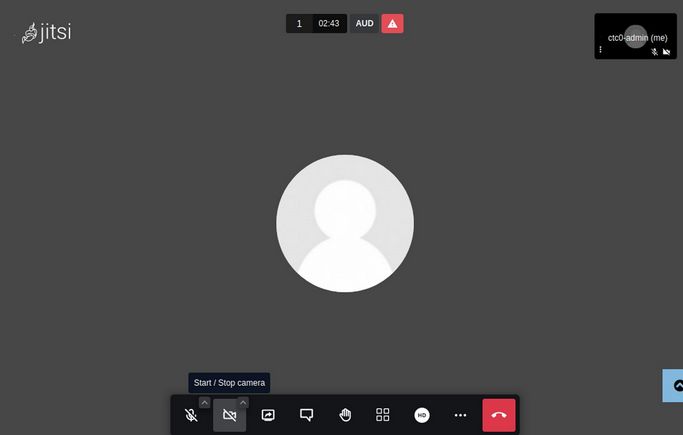
Hover over the bottom of the screen to bring up some options. Click on the Camera to allow the camera. Then click on the three dots to go to the Jitsi settings. Then click on the chat icon to open the chat box. Then open up a web page in a different browser, or a video or Libre Writer document you want to share with the class. Then click on the Share screen option to share your screen.
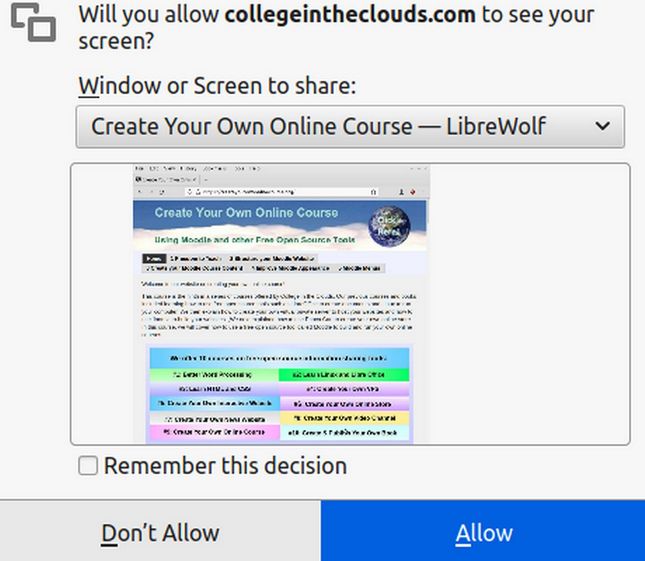
Click Allow:

The web page, video or document now appears on the main Jitsi screen. To end the meeting, click on the red button. Then click on the Back arrow at top left corner of the screen.
Add a Video Conference Scheduling Tool
The Moodle Jitsi plugin allows you to schedule your own video conferences for each class session. But what if you want to set up office hours and students to be able to schedule video conferences. For that, in the past, we were able to install the Moodle plugin called Scheduler. Teachers specify time slots for meetings, students then choose one of them on Moodle. Sadly, this plugin appears to have been abandoned. Even when it existed, it suffered from several problems. The biggest was that it was a Per Course scheduler and many teachers offer several courses at the same time. This problem led to students from two different courses double booking the same teacher time slot. The solution to this problem is to set up a parallel Joomla website and add an Events or Form component to your Joomla website. Then create your office hours appointments and schedule on the Joomla website. Ideally, there should be a confirmation and reminder email set to both student and teacher confirming the appointment. Many teachers have very busy schedules. They prefer to have students email them with a request for a time slot to me and the teacher emails the student back after reviewing their schedule.
What’s Next?
In our next article, we will review how to run a Jitsi video conference.