
In our previous article, we used the Hestia File Manager to install Moodle into our root public_html folder and to install the moodle data folder into the Hestia private folder. In this article, we will use the Moodle installer to complete the Moodle installation process.
Important: Due to the size of Moodle, it is important to be connected to the Internet with an Ethernet cable to complete the installation before the time out error appears!
Step 1 Open a New Web Browser and enter your Domain Name
We will still be using our Hestia Control Panel. So we need to keep a separate web browser open to keep us logged into our Hestia User account. But we also need a browser where we can clear the browser cache. So we will open a new browser and clear the cache. Then type in our domain name. The first Moodle Installation screen is called Language. Use the drop down to change it to English US.
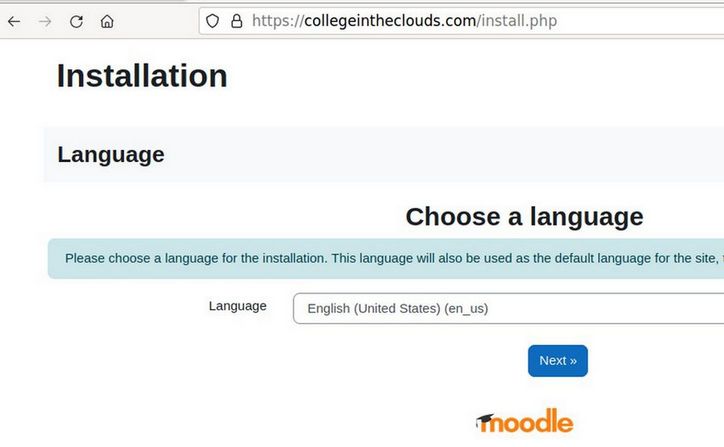
Then click Next.
Step 2 Set the correct path for the Moodle Data Folder
The next screen is called Confirm Paths. Change the Moodle Data path to add the private folder to the path:
/home/course0/web/collegeintheclouds.com/private/moodledata
Then click Next.
Step 3: Change the Database Driver to Maria DB
The next screen is Choose Database driver. The default is mysqli. Use the drop down to change this to MariaDB.
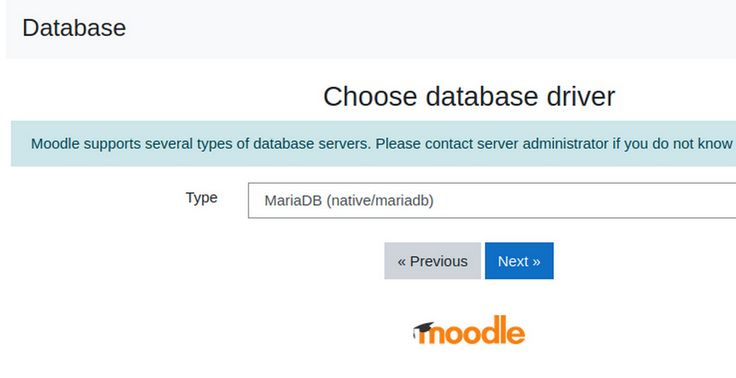
Then click Next.
Step 4: Enter your Database Name, User Name and Password
The next screen is to set Database Connection information.
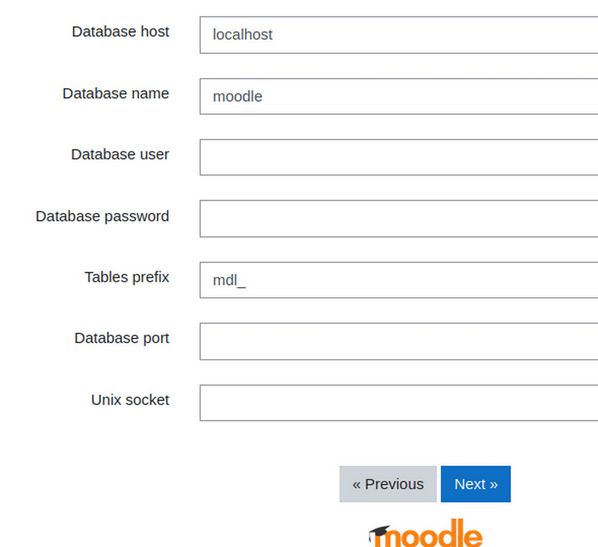
Replace the database name moodle with the actual database name. Then type your Hestia created database username and password. Note that the password has a capital letter. Then click Next. The next screen is the Copyright screen. Click Continue.
Step 5: Moodle Server Check screen
The next screen is the Moodle Server check screen. Assuming you have adjusted your PHP INI settings as described in our previous article, all of the settings should be green. There may be some recommended adjustments. But all of these can and should be ignored. Assuming you are connected to the Internet with an Ethernet cable rather than WIFI, scroll to the bottom of the page and click Continue. This will start a very long Moodle Install process. Note the start time. Ideally, the install will complete before 30 minutes is up. However, at some point, you may see the following 500 error appear:
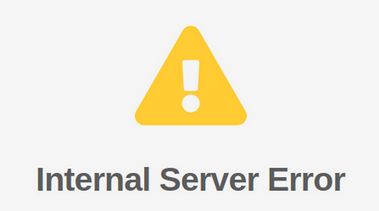
If the time to reach this error was 10 minutes or less, you should check your PHP INI, Apache 2 and Nginx settings and restart your Hestia VPS services. However, if the time to this error was 15 minutes or more, it is likely that the installation was mainly or even entirely completed. Simply wait about 4 hours and clear the browser cache and reload the page. If the install was only partially completed, you will open to the Plugins Check screen:
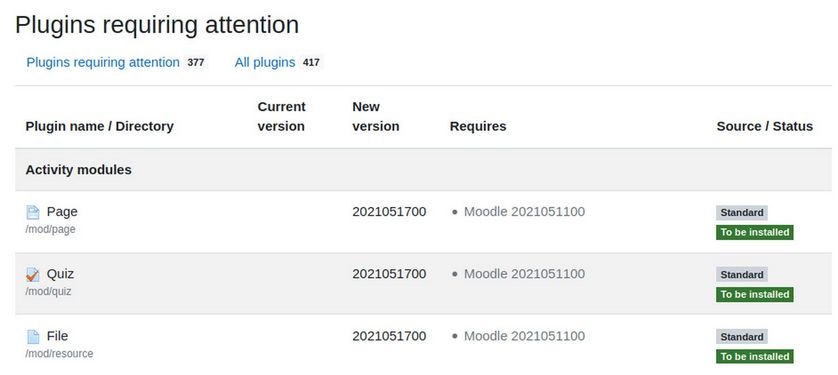
This indicates that not all of the 437 plugins have been installed yet. Scroll to the bottom and click Upgrade Moodle database now.
Wait a few minutes for the update to finish. Then click Continue. If your installation was completely finished, you might skip the Plugin Check screen and the Installation General screen will appear.
Step 6: Add the Primary Administrator Details
The next screen has the Primary Administrator details.
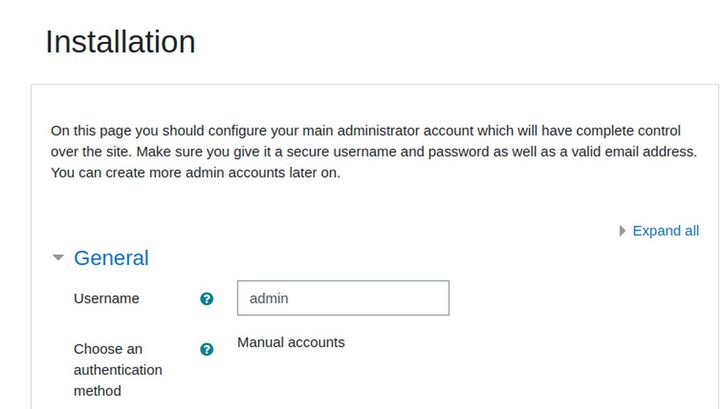
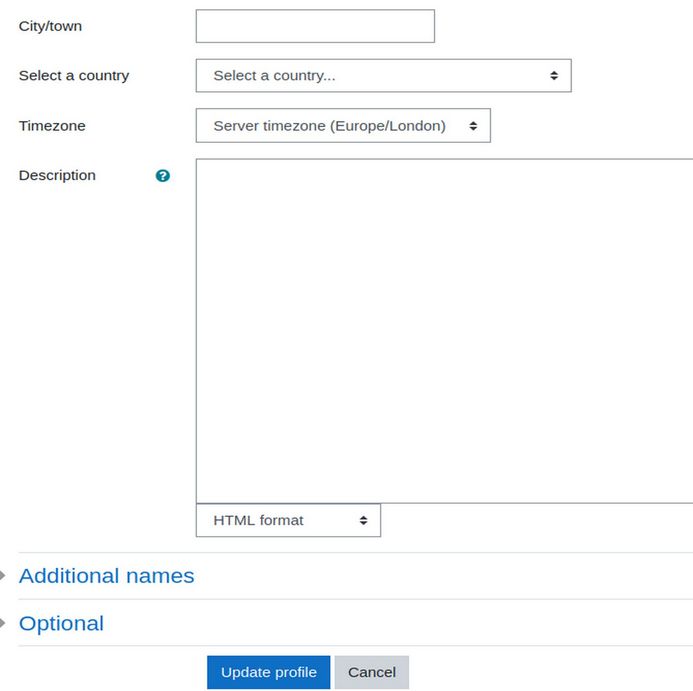
Make sure you give it a secure username and password as well as a valid email address. You can create more admin accounts later on. For username, only lower case letters are allowed. Change the username to something other than admin. Then scroll down the page to fill out these boxes:
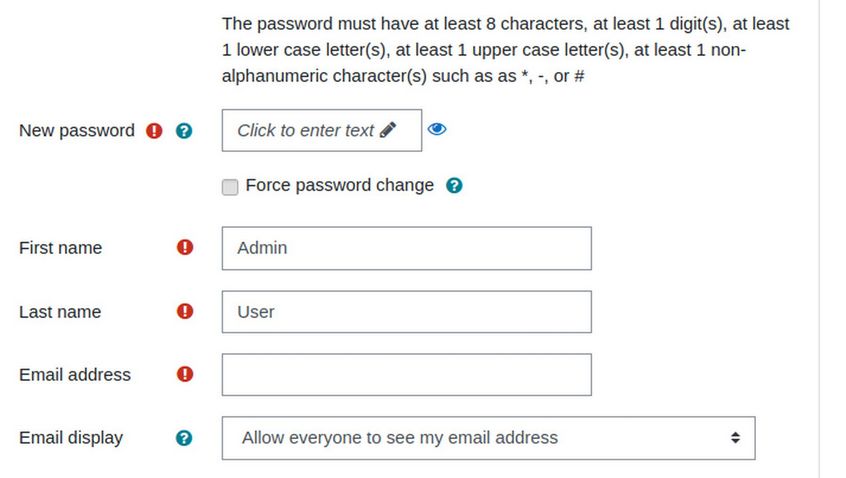
Then fill out these boxes:
Then click Update Profile.
Step 7 Add the Website Details
The next screen adds the website details.
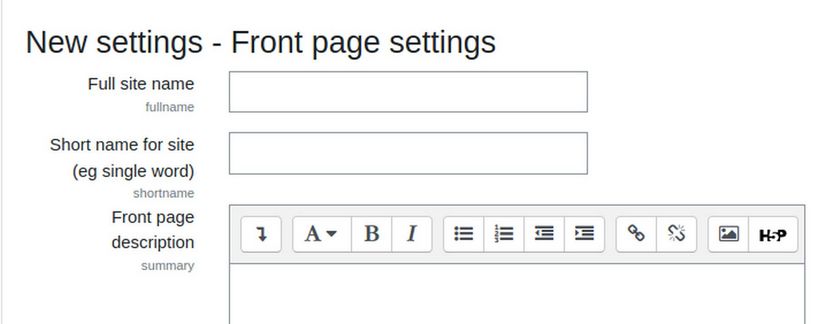
Use your website domain name for both the full site name and the short name (which can be more than one word). Then fill out the location:
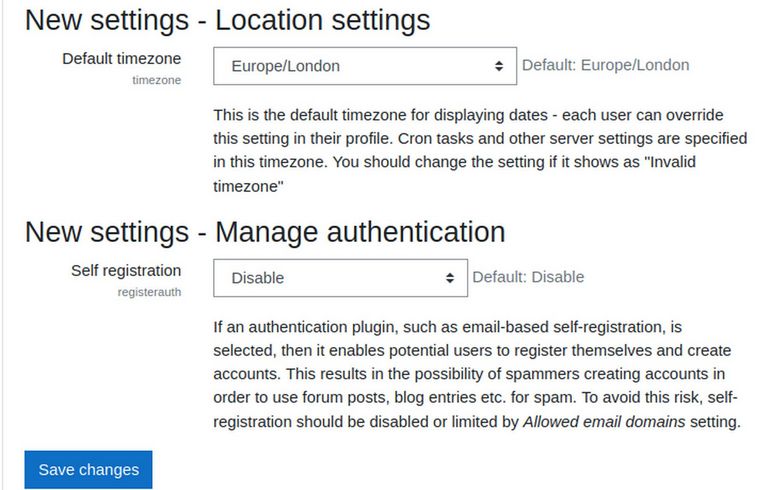
Then click Save Changes.
Step 8 Skip the Site Registration
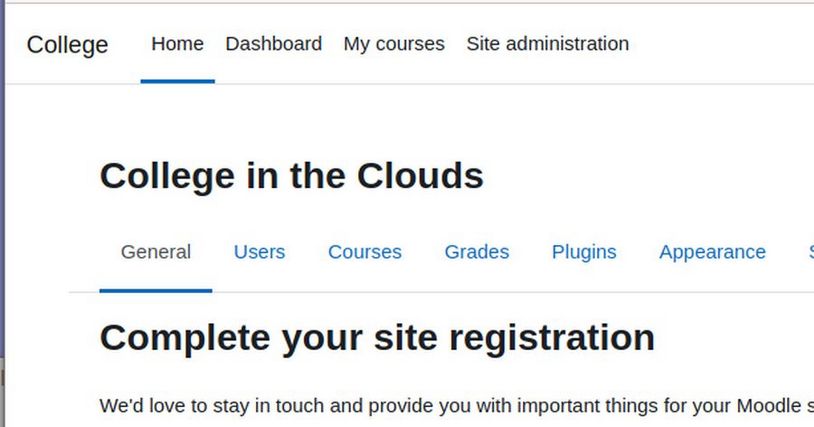
Scroll to the bottom of the site registration screen and click Skip.
Next is the Dashboard page. Click Got it.
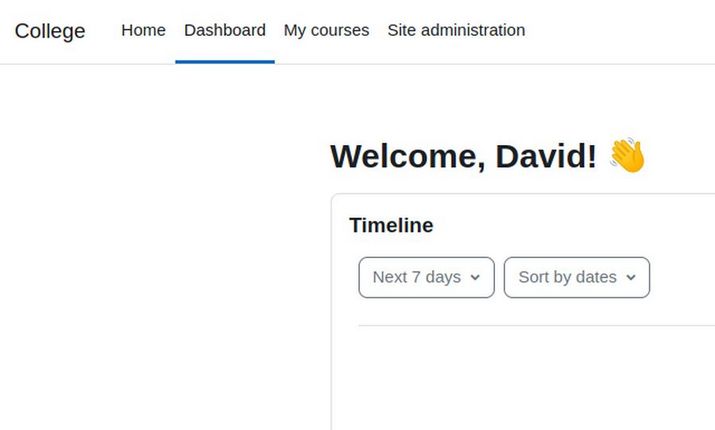
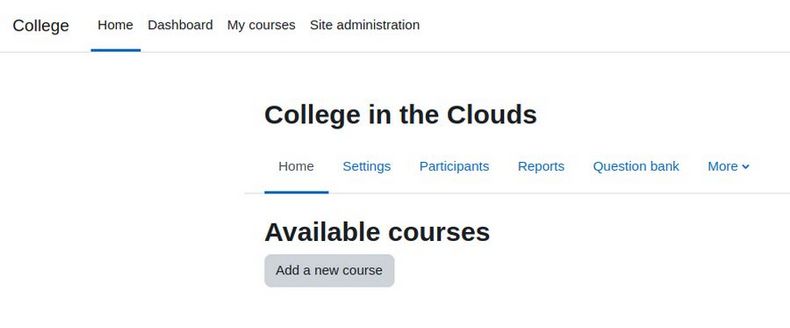
Then click on Site Home to see the front end of your Moodle site.
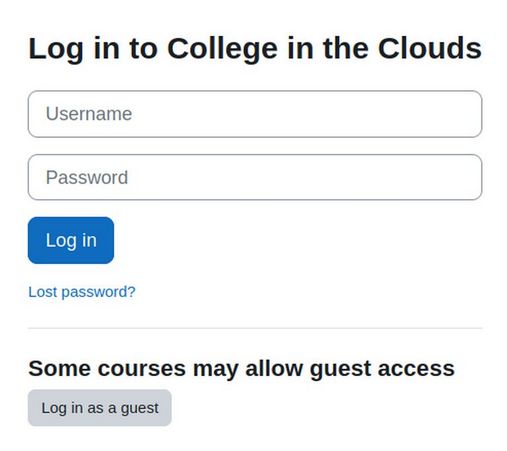
To log out, click on the down arrow near your name. Here is a link to the log in page:
https://collegeintheclouds.com/login/index.php
Congratulations. You have installed a Moodle Website on a Hestia VPS.
What’s Next?
In our next article, we will review some important final steps in setting up your Moodle website.