
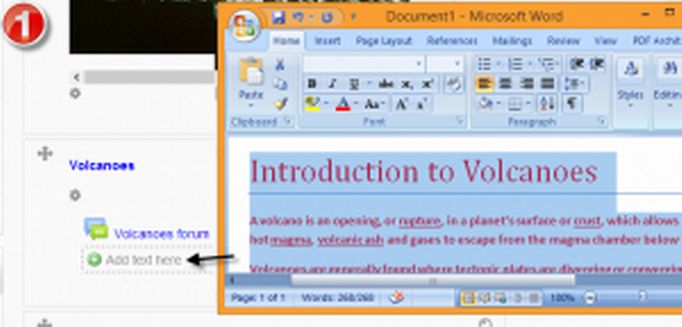
In our previous article, we created the sections and sub sections for a new course called Better Word Processing. We then divided the course into three parts. We then divided each part into four chapters. Each chapter can be thought of as one week of course content. We then divided each chapter into four sections. Each section can be thought of as a single class session. Each class or section has its own web page, activities and resources. In this article, we will add activities and resources to the first section in Chapter 1. This section is called Section 1.1 Word Processing versus Formatting. The first step in adding activities and resources to a Moodle section is to go to the Course Section you want to work on and turn on edit mode.
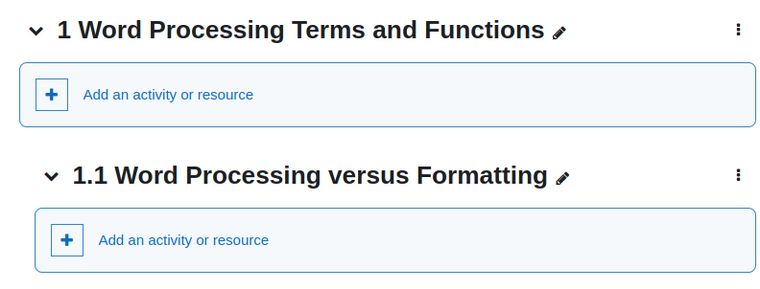
Note that while we could add an activity to Chapter 1, our actual class sections are the sub-sections of Chapter 1. So go to Section 1.1 and click Add an activity or resource. This brings up a screen with 22 learning options. These options are divided into two categories. There are 15 Activities and 7 Resources. Click on Resources:
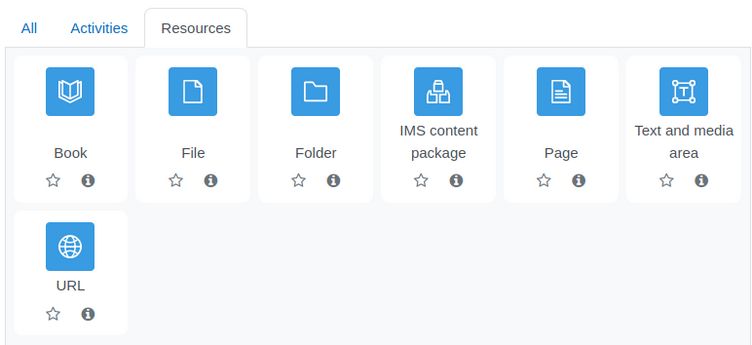
Review of 7 Moodle Resources
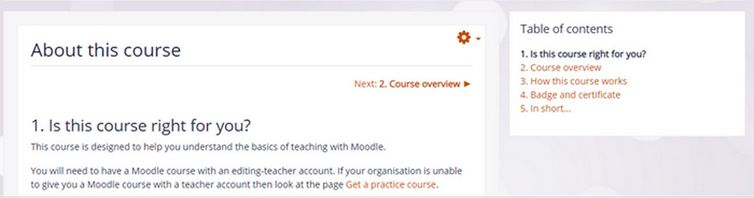
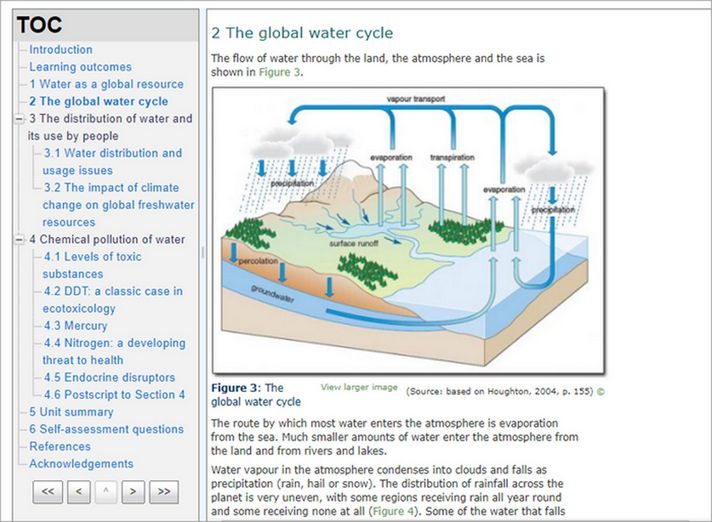
The first option is called Book. This option allows you to create a series of web pages all linked by a Table of Contents. You can include images videos and other content. Here is an image of what the Book might look like:
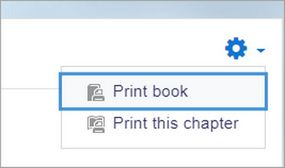
Students can print books or chapters (as PDF) by clicking the gear icon top right of the book:
The second Resource option is called File. This option allows you to select a file, which can be a document, presentation or video. The file can then be uploaded either from your computer or from a document repository such as Google Drive.
The third resource is called Folder. This option allows you to create and name a folder into which you can place any number of files. Here is what a Folder resource might look like:

The fourth resource is called IMS Content package. IMS Content is a standard learning format which allows you to upload content created by others regardless of the learning management system.
Here is what an IMS Content Package might look like:
The fifth resource is called Label. A label can be used as a spacer or divider between other learning content. Labels enable you to add additional text or graphics to your course page. Labels can be used to create custom banners for each weekly learning module/topic, display/embed multimedia on your main page or indent your resources under a label, creating some visual separation from the rest of the content. Here is an example of a label:
The sixth resource is called Page. A Page resource allows students to see a single, web page within a Moodle section. Instructors can format text, add links, insert images and videos, and modify a page's HTML code with Moodle's text editor. Pages can be better than files as a student does not need to download the page to view it. The student also does not need a Word Processor to view the page. Here is an example of using the Moodle HTML editor to create a page:
The seventh resource is called URL. This is a link to an existing web page. We will add the following web page link to our Moodle section 1.1:
https://betterwordprocessing.com/part-1-creating-simple-documents/1-word-processing-terms-functions/1-1-word-processing-versus-formatting
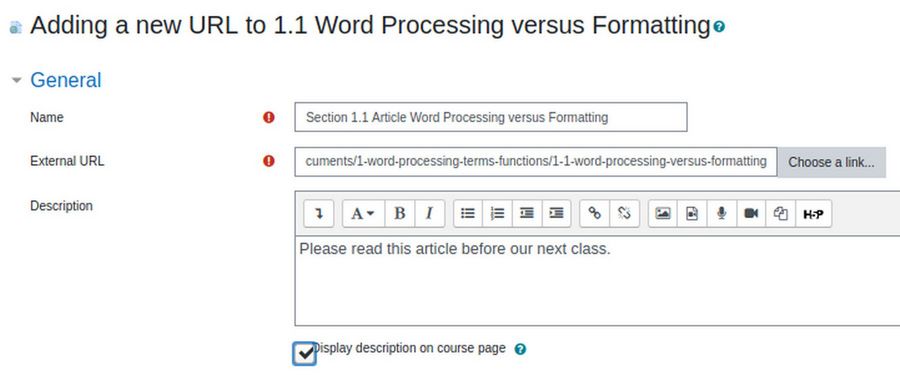
Then click Save and return to course.
Here is what this link will look like to your students:
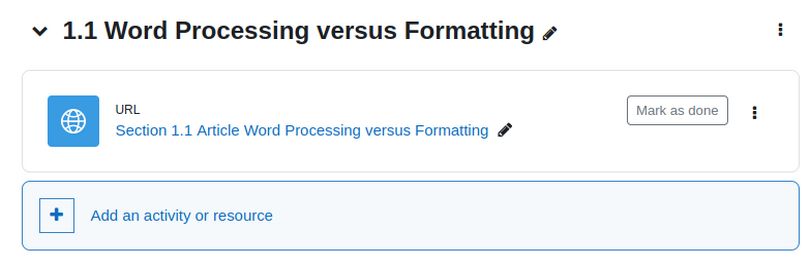
Click on the link to go to a page with a link to the article and verify that this link works as intended. Assuming you have created a matching video for each article and posted the video on a video sharing network, you could also add a link to the video as an activity below the article.
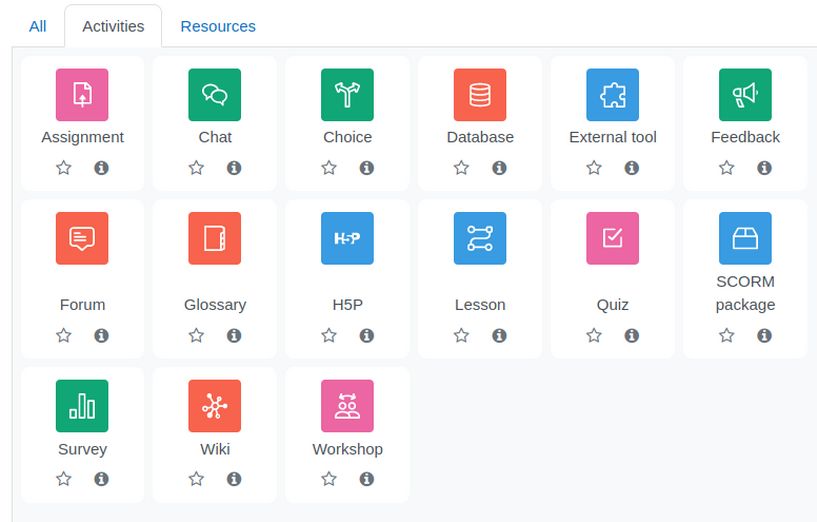
Review of 15 Moodle Activities
Activities are different from resources in that resources are static while activities are interactive. Click on the Activities tab to see 15 Moodle Activities:
The first activity is called Assignment. Assignments allow students to submit work to their teacher for grading. The work may be text typed online or uploaded files of any type.
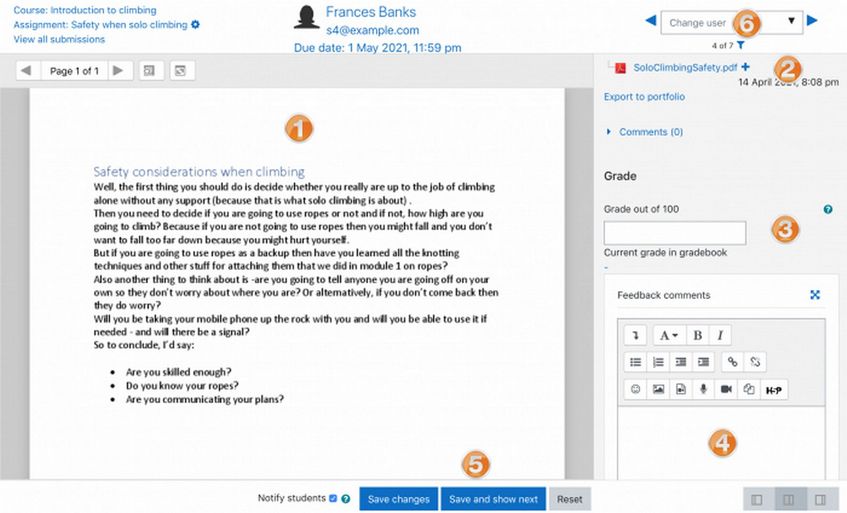
Grading may be by simple percentages or custom scales, or more complex rubrics. Students may submit as individuals or in groups. The teacher can decide how the assignment should be submitted and choose options for providing students with feedback and/or a grade. Here is an example of a Moodle assignment from the student view:

Here is the same assignment from the teacher grading view:
The second activity is called Chat. This allows the teacher to define chat sessions or specific times to talk with a student or group of students.
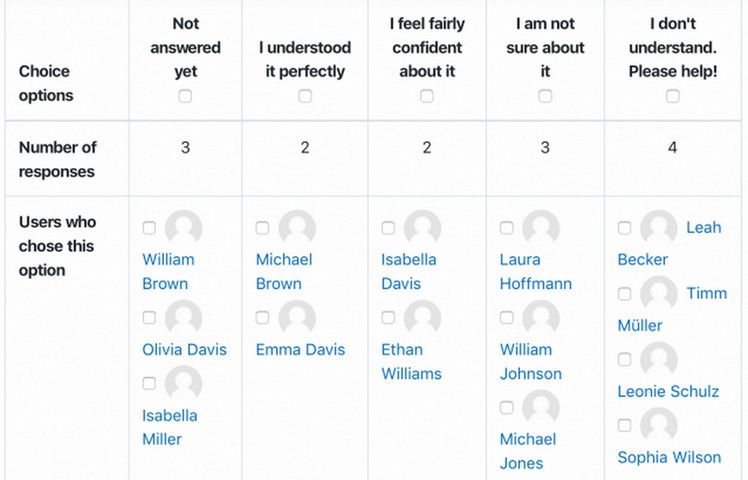
The third activity is called Choice. This allows teachers to provide students with a question and set up radio buttons which learners can click to make a selection from a number of possible responses. They can choose one or more options. Choices can be useful as quick poll to stimulate thinking about a topic; to allow the class to vote on a direction for the course, or to gauge progress. Here is an example of a student view of a Choice activity:
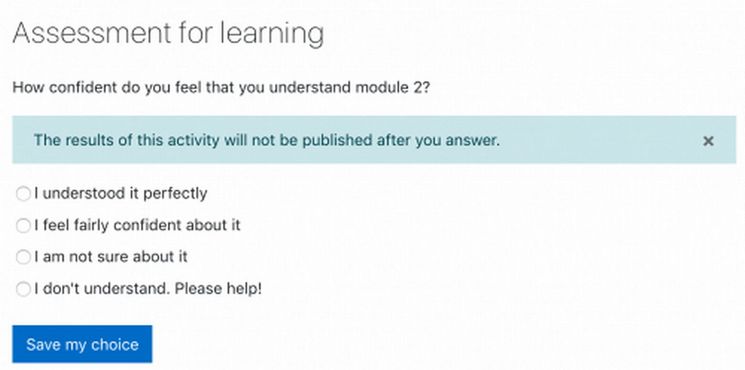
Here is the teacher view:
The fourth activity is called Database. It allows the teacher and students to collect information about a topic and build an organized database of knowledge.
The fifth activity is called External Tool. This option provides a link to an external tool which is provided by a third party.
The sixth activity is called Feedback. This activity allows the teacher to write their own questions to ask students. It is different from the survey activity in that the survey only allows the teacher to choose from a list of pre-written questions.
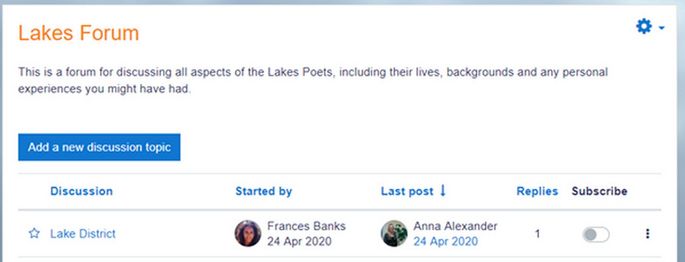
The seventh activity is called Forum. This activity allows students and teachers to exchange ideas by posting comments as part of a 'thread'. Files such as images and media may be included in posts. The teacher can grade and/or rate forum posts and give students permission to rate each others' posts. Here is an example:
The eighth activity is called Glossary. This activity allows participants to create and maintain a list of definitions, like a dictionary. While it can be set up by the teacher, it can also be used as a collaborative exercise where students help build a list of important terms and definitions. The Glossary auto-linking filter will highlight any word in the course which is located in the Glossary
The ninth activity is called H5P. This activity involves selecting from a series of activities from either your own Moodle Content Bank or the h5p.com content bank.
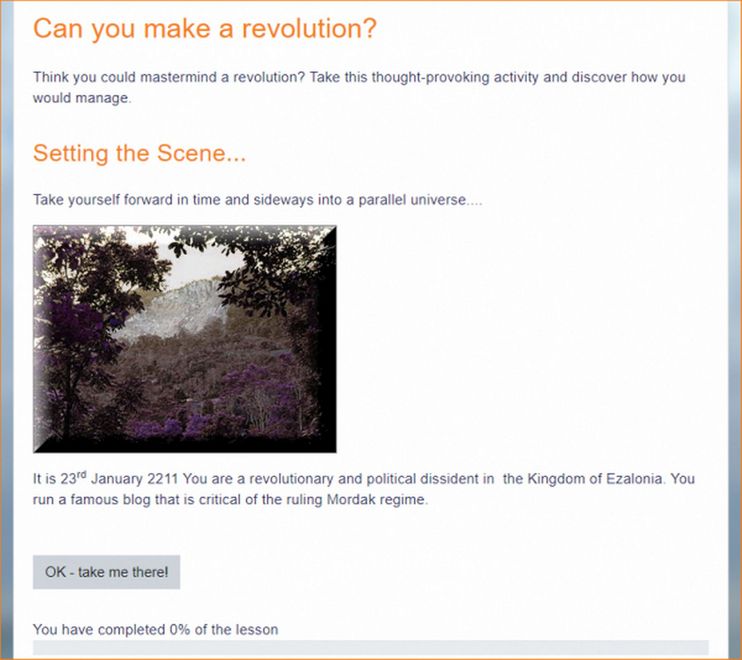
The tenth activity is called Lesson. This activity allows teachers to create 'branching' exercises where students are presented with content and then, depending on their responses, are directed to specific pages. The content may be text or multimedia. Students click on the Lesson icon in the course to access it and, depending on the teacher's settings see a page of information and are prompted to choose an option from a selection of possible responses.
Here is an example of a Moodle lesson:
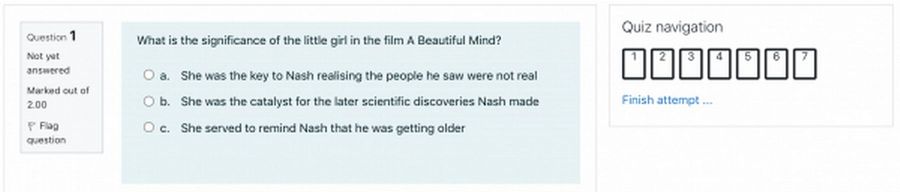
The eleventh activity is called Quiz. When creating a Quiz you can either make the questions first and add them to the Quiz, or add a Quiz activity and create the questions as you go along. Here is an example of a Moodle Quiz question:
The twelfth activity is called SCORM package. A SCORM package is a zipped folder of files and or activities that can be uploaded.
The thirteenth activity is called Survey. The Survey activity offers a number of pre-made questions have been found useful in assessing and stimulating learning in online environments. Teachers can use these to gather data from their students that will help them learn about their class and reflect on their own teaching.
Note that the Survey is not customizable; if you want to create your own survey questions, then use the feedback activity instead.
The fourteenth activity is called Wiki. This activity allows students to create a collaborative document by building pages together, similar to Wikipedia. Unlike other collaborative editing programs (such as Google docs) the Wiki is a standard Moodle activity and so no extra permissions or logins are needed. Although Wikis are usually collaborative, it is possible to allow each student to create their own Wiki. Students click on the Wiki icon in the course to access it and can either go to an existing page (1), activate a draft page by clicking the link (2) or create a new page by adding double square brackets around its title. Here is an example of a Moodle Wiki:
The last activity is called Workshop. With this activity, students add submissions which are then distributed among their peers for assessment based on a grading scale specified by the teacher.
Activity Plugins
In addition to the 15 included activities and 7 included resources, Moodle also offers hundreds of additional activity plugins in their Plugins Directory.
Here is a link to Moodle Activity Plugins:
https://moodle.org/plugins/browse.php?list=category&id=1
Here is a Table showing the number of plugins available for various categories of Moodle Activities
|
Moodle Activity Plugin Category |
Number of Plugins |
|
Assignment |
42 |
|
Assignment submissions |
25 |
|
Assignment Feedback |
9 |
|
Assignment Types |
8 |
|
Quiz |
141 |
|
Quiz Reports |
12 |
|
Question Types |
77 |
|
Question Formats |
18 |
|
Question Behavior |
18 |
|
Quiz Access Rules |
16 |
|
Database Activity |
10 |
|
Workshop Activity |
6 |
|
Book Activity |
8 |
|
H5P |
1 |
|
Attendance |
2 |
|
Games |
1 |
|
Checklist |
1 |
|
Content Pages |
1 |
|
Appointment Scheduler & Reservations |
3 |
|
Poster for additional Moodle blocks |
1 |
|
Student Folder |
1 |
|
Jitsi Video Conferences |
1 |
|
Presentations and Portfolios |
2 |
|
Course Newsletter |
1 |
|
Learn Foreign Languages Module E-lang Lab |
4 |
|
Certificates |
4 |
|
Booking courses and events organizers |
3 |
We will review some of these activities plugins later in this course in our chapter on Moodle Plugins.
What's Next?
In the next article, we will review additional tools and options that Moodle offers to provide student with a better learning experience.