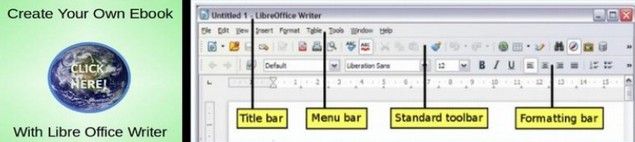
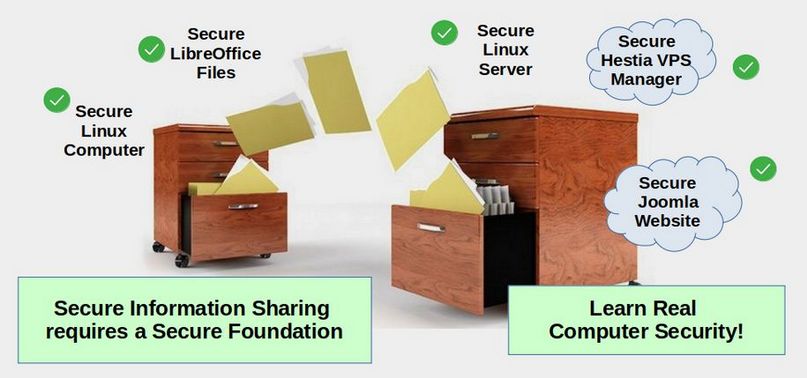
This course is the ninth in our series of courses at College in the Clouds. Our previous courses included learning how to use free open source tools such as LibreOffice to create documents and Linux to run your computer. We then explain how to create your own virtual private server to host your websites and how to use Joomla to build a secure website. We next explained how to use Phoca Cart to create your own online store. In this course, we will cover how to use a free open source tool called Moodle to build and run your own online courses.
Why Create Your Own Online Course
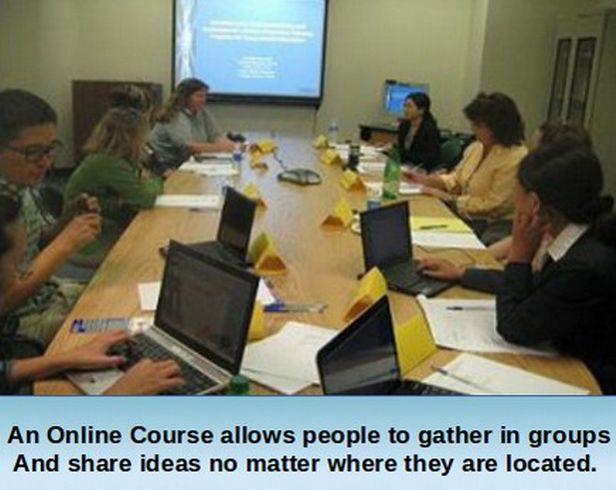
Creating an online course has several major benefits. First, it allows you as a teacher to reach a much wider audience. Instead of teaching the same course over again and again to small groups of ten to thirty students, you can video tape your courses and post them online where they can be seen by millions of students.
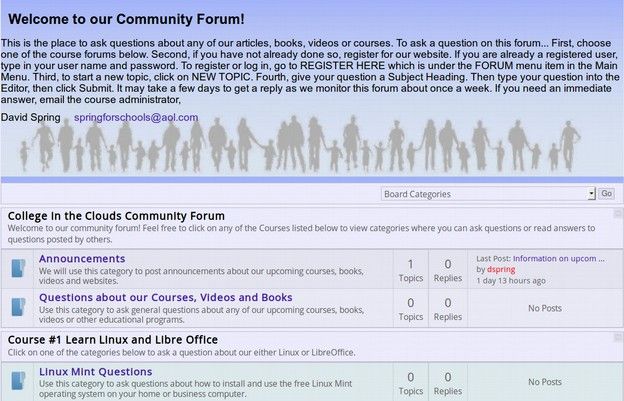
But merely posting videos is not an effective way to help students learn a subject. A course also needs to have readings to supplement the videos and a schedule of video conferences where students can ask questions of the instructor. The course also needs a website with a forum where students can ask questions and read your answers to the questions of others. A course also needs to have quizzes where students can confirm their knowledge of one section of the course before moving on to the next section of the course. Finally, a course needs to have a way to keep track of students and their progress so that a certificate of completion can be awarded.
Bringing together all of these learning activities is where a Learning Management System like Moodle comes in.

Moodle is the world’s most popular free open source Learning Management System (LMS). There are currently nearly 200,000 Moodle websites offering 36 million Moodle courses to more than one billion Moodle students.
Why Moodle?
There are many learning management systems on the market today. Some like Blackboard or Canvas cost hundreds of dollars per course. Moodle has several advantages over other learning management systems.
1 Moodle is free - making it within the budget of any school and any teacher.
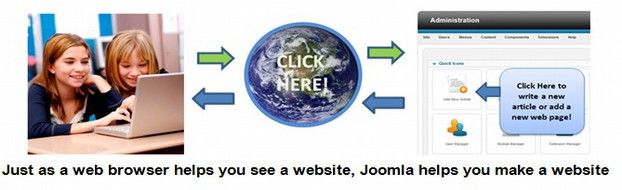
2 Moodle can be combined with the Joomla Content Management System - which is the tool we recommend for building your course curriculum website.
3 Moodle is expandable meaning that it can be used to organize everything from a single course to an entire University.
4 Moodle provides teachers and students with hundreds of free learning tools you can add to customize your Moodle course.
5 Moodle offers dozens of assessment tools to help teachers and students track student learning.
6 Moodle offers students, teachers and administrators their own customized Dashboard page showing their past, current and future courses along with tasks to be done.
7 Moodle provides teachers and students with a personalized calendar which includes course deadlines, group meetings, and many other events.
8 Simple Text Editor. Allowing you to create and edit documents from inside of Moodle.
9 Notifications Table. to send and receive alerts on new assignments and deadlines, forum posts and private messages.
10 Customizable Site Design. Easy branding to change the appearance to match your school or business colors and activities.
11 Multi-language Capability. Students and teachers can view course content in their own language with over 100 languages to choose from.
12 Easy Course Creation. Moodle helps you organize and present your online courses and is completely flexible in terms of the content.
13 Group Management, with custom User Roles and Permissions. Customizable groups allow you to control who sees what and who can do what.
14 Lots of Free Plugins to expand Moodle. There are over 1000 free plugins in the Moodle Plugin Directory to help you improve your Moodle website to fit your own course needs. These Moodle plugins are divided into more than 30 searchable categories. Here is a link to the Moodle Plugins page: https://moodle.org/plugins/
15 Detailed Reports. Moodle offers a series of reports to help students, parents and teachers better understand the Moodle learning process.
16 Moodle is open source – make it much more secure that closed source learning management systems.
17 Moodle has a massive community to help you overcome any problems you may have in creating your online course.
What is different about our course and book on Moodle?
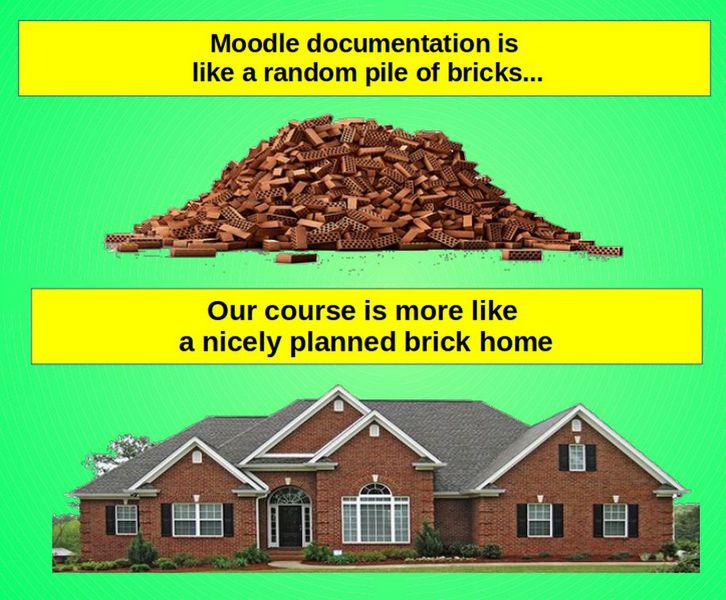
Moodle already comes with its own documentation. So why did we create another book on Moodle?
Our course offers several benefits over the Moodle documentation. First, our course is more complete than the Moodle documentation.
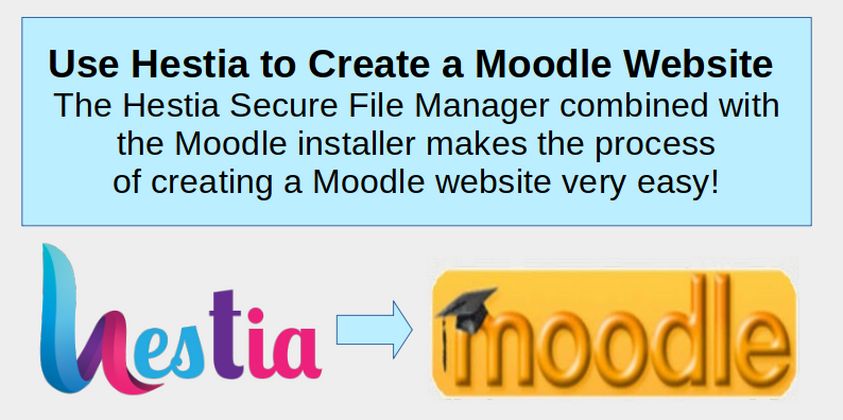
There are many important topics that are completely missing from the standard Moodle documentation. For example, the standard documentation does not cover the importance of using free open source tools like the Hestia Control Panel to create and manage a Moodle website. Hestia provides a much easier pathway for creating and managing a Moodle program.
In addition, Moodle documentation provides no information about how to screen student applicants. We provide you with a complete Program Registration process. We also cover installing and using the free AlmondB Theme - which adds a huge amount of functionality to a Moodle website - and explain how to add Jitsi video conferencing which is free and easier to use than Zoom.
Second our course is better organized than the Moodle documentation. Learning how to build and run a Moodle Program can be extremely challenging – especially for folks who may be great teachers but are not well versed in technology. Moodle is a massive program (three times larger than Joomla).
Our course makes the learning process easier by providing a clear step by step series of instructions that are focused on the most essential tasks - covered in the order that they are needed.
Third, our course has a much greater focus on security.
The standard Moodle documentation seems to be completely unaware of the security dangers of using the Windows operating system. Online schools and courses are one of the most likely targets of Windows ransomware – a problem which has caused teachers to lose years of course curriculum and caused hundreds of schools to lose millions of dollars. We address this security nightmare by explaining why and how everyone from administrators and teachers to students should use Linux computers and programs whenever they are online!
Fourth, we offer a better way to build a Moodle school and course. Sadly, the Moodle business model seems to be built on the assumption that you will hire a Moodle consultant to build and run your Moodle school. The problem with hiring a consultant is that they have an initial fee that typically exceeds ten thousand dollars – with even more fees for customization and ongoing management. This consultant system may work well if you are a large corporation with deep pockets or a large University with a huge budget. But it is simply way too expensive for a single teacher or small school.
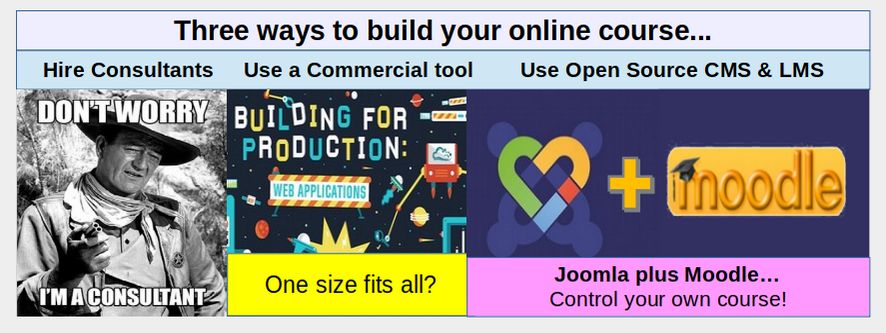
We offer a dramatically less expensive alternative that allows you to retain more control over your data and your courses. Our goal is to teach you how to create your own online school and use it to run your own online courses. Our pathway is more time consuming than just hiring a consultant – because there is a lot to learn. But the reward is that you will be able to customize your school in a manner that best matches the needs of your courses and your students.
Fifth, our course does a better job of covering essential tasks. Moodle documentation covers many topics that most Moodle Administrators and instructors will never use. We will cover fewer topics – but do a better job of covering those more important topics.
Sixth, our course uses many more images.

Why Combine Joomla with Moodle?
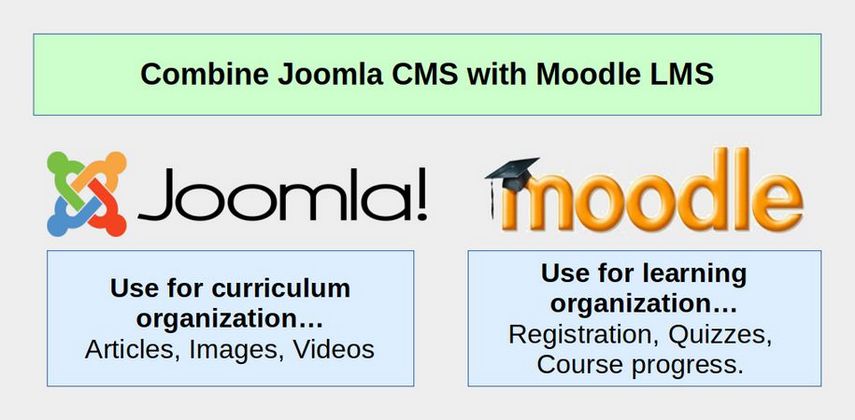
In previous courses, we explained why changing from MS Office to LibreOffice and switching from the Windows operating system to the Linux operating system are both essential for online security. In other courses, we explained how to set up a Virtual Private Server using a free open source control panel called Hestia. Knowing how to set up your own VPS is essential prerequisite to building a Moodle website as Moodle can quickly overwhelm the resources available on a Shared Hosting account. We also explained how to set up a Joomla website. Joomla is complementary to Moodle in that you can set up your course curriculum on a Joomla website and then link student reading assignments to the Joomla pages in your Moodle course website.
This brings up an important question… Why not just post our curriculum articles on Moodle pages and just use a Moodle website rather than posting our content on a Joomla website and the Learning process tasks on a Moodle website?
The answer is that Moodle is a Learning Management System designed especially for creating learning exercises such as quizzes and reports. Because Moodle lacks a Web Page Manager, it is very difficult to use Moodle to create new web pages and web page categories. Because Moodle lacks an Images Manager, it is very difficult to use Moodle to add and organize images. Because Moodle lacks a Menu Item Manager, it is very difficult to use Moodle to add and organize menu items.
All of these tasks are handled much better by Joomla – which is the most well organized content management system there is. Using both tools is even more important if you have or are building a complete college level four credit course which is likely to include 36 or more 10 to 20 page articles, divided into 9 or more chapters with more than 400 images. Attempting to build this course curriculum entirely inside of Moodle would lead to a disorganized mess that would be difficult to update over time. By contrast, Joomla offers an excellent structure for articles and images that can help you keep your content organized as you build it.
This leads to the second question… Why not just use Joomla and Joomla User groups and access levels to run your courses? There are some free excellent extensions in Joomla, such as TF Learn, that work well with a small number of courses and small number of students.
However, the Learning Block options are extremely limited in Joomla when compared to the hundreds of free learning block plugins offered by Moodle. Moreover, as we explain in this course, Moodle offers us extensive control over Learning Roles and Assignments. The course registration and progression processes in Moodle are far beyond anything Joomla is capable of. Just as Joomla is a dramatically easier Content Management System, Moodle is a dramatically better Learning Management System.
This leads to a third question… Why not combine your Joomla and Moodle database using a free Joomla extension called Joomdle? The benefit of Joomdle is that students only need a single log in for both Joomla and Moodle. Moodle is essentially placed inside of your Joomla website. The drawback is that combining Joomla and Moodle websites into a single website (with Moodle shown in a wrapper on Joomla pages) leads to an extremely high level of complexity.
Some of the problems include compatibility problems with both Joomla extensions and Moodle extensions. But the biggest problem is with the learning curve. Many non-technical teachers will struggle just learning how to post their curriculum to Joomla. They will struggle even more trying to learn how to use all of the processes in Moodle.
Adding a third layer of complexity makes it even more difficult to solve problems if something goes wrong. Was it a Joomla problem? Was it a Moodle problem? Was it an interaction problem?
If you are good with technology and have a good understanding of both Joomla and Moodle, then go ahead and give Joomdle a try. However, for most teachers, keeping Joomla and Moodle separate is an easier solution than trying to combine them.
Who is this course for?
Create Your Own Online Course is for anyone who wants to create a secure and economical online course using the Moodle Learning Management System. This includes teachers who want to provide additional resources for their students and retired teachers who want to provide their learning materials to the world community. This also includes specialists who want to provide courses on a special skill either for pay or for free.
This course is also for school district, college and university administrators and Information Technology staff interested in providing their students and teachers with a better and less expensive online or hybrid experience. You do not need coding skills – but knowing the basics of HTML and CSS will help. Finally, this course is for those wanting to set up a Multi-lingual education program – as Moodle is available in more than one hundred languages.
Our Plan
In this course, we will review how to install Moodle on a Hestia VPS. Next, we review how to set up the structure of your online course. Then we review how to install a customizable Moodle theme to improve the appearance of your online course website Finally, we will go step by step through some of the most important processes in running your Moodle online course.
This course is divided into the following nine categories:
1 Freedom to Teach (a new easier way to Install Moodle)
2 Structure Moodle Categories Courses and Users
3 Create Moodle Course Content and Activities
4 Improve Moodle Appearance with the AlmondB Theme
5 Moodle Administrator Tasks… Registration & Enrollment
6 Moodle Learning Tools Assignments, Conferences, Calendar
7 Moodle Progress Tracking Tools Quizzes, Projects, Reports
8 Moodle Student Guide
9 School Management
Each of the above categories is divided into four articles. Each article is about 10 pages with helpful images and screen shots on nearly every page. All together, there are 36 articles each of which takes about 30 to 60 minutes to read. Our goal is to produce videos for each of these 36 articles and post them on our College in the Clouds YouTube and Bitchute Video channels. Our hope is that you will use these detailed steps to create your own online Moodle school!
Now that you understand the plan, let's get started!